Cranberry Pecan Herb Cream Cheese Stuffed Celery: The Perfect Crunchy Appetizer
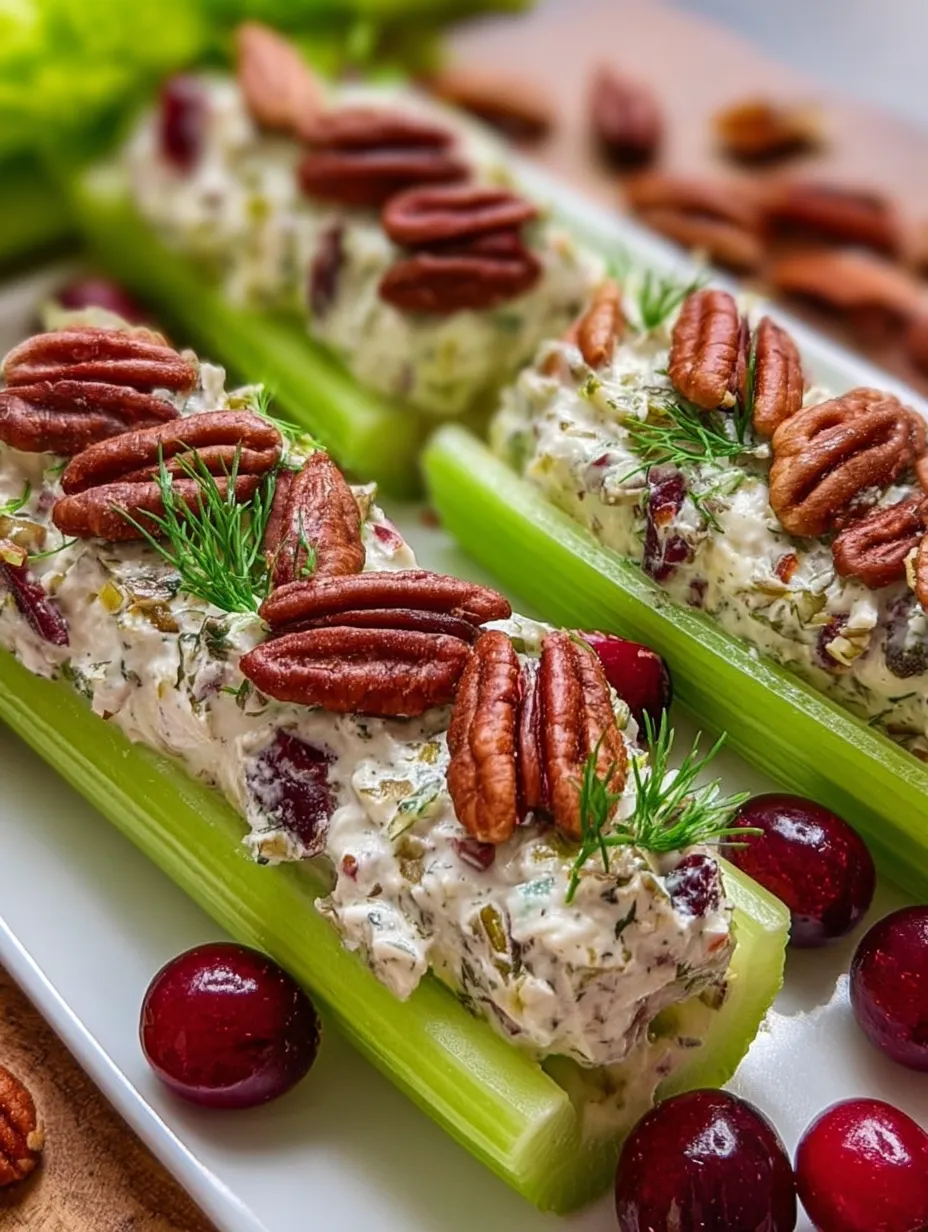
Why This Recipe Stands Out A Balance of Flavor and Texture There’s something quietly magical …

Why This Recipe Stands Out A Balance of Flavor and Texture There’s something quietly magical …
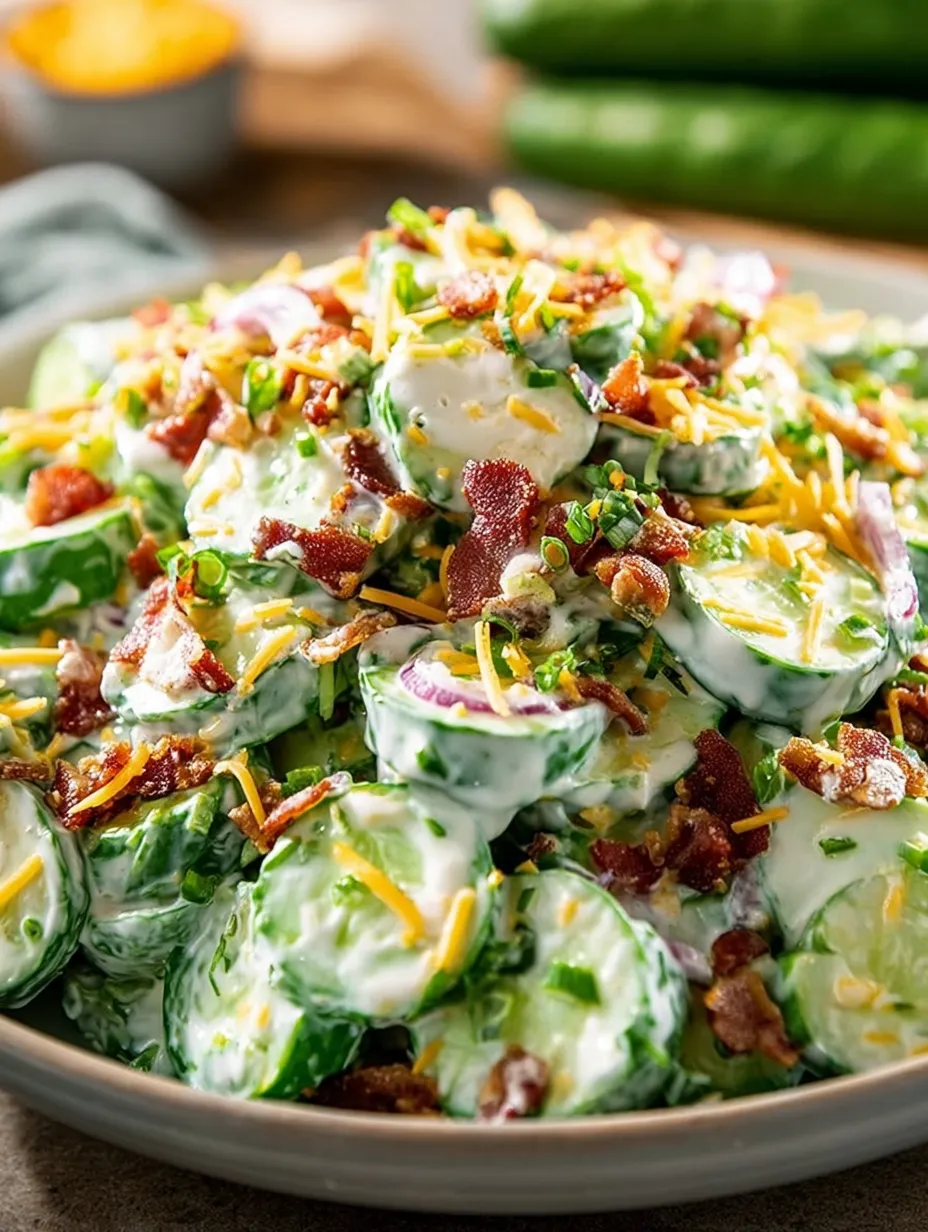
Why This Salad Is So Addictive There are some dishes you try once and forget, …
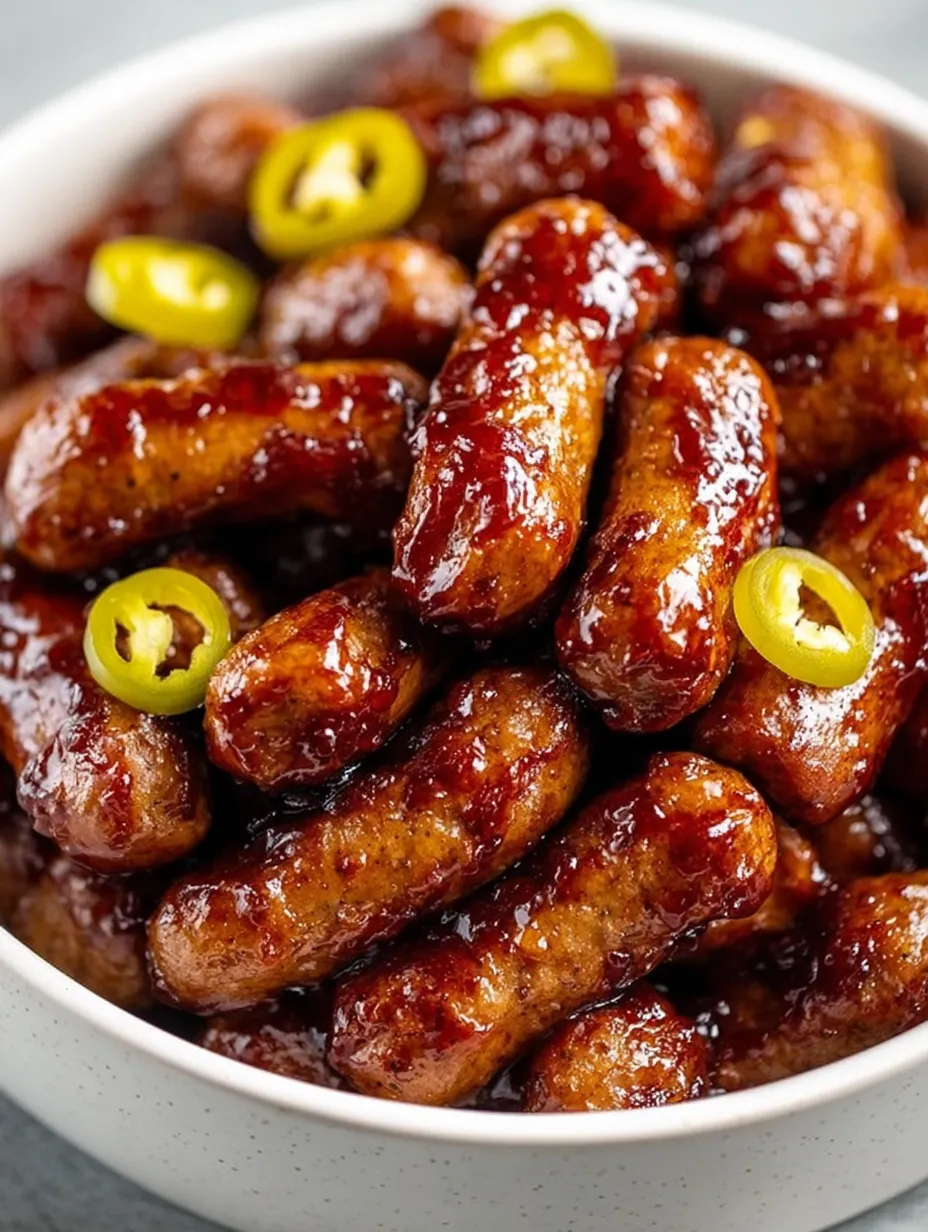
If you’re on the hunt for the perfect party appetizer, look no further than these …
A Sweet Hug from the Windy City The Heart of Chicago in a Bite There’s …

Nothing says comfort like a warm, gooey Sweet Potato Casserole with Marshmallows fresh out of …
If you’re craving something warm, comforting, and just sweet enough for those crisp autumn mornings, …
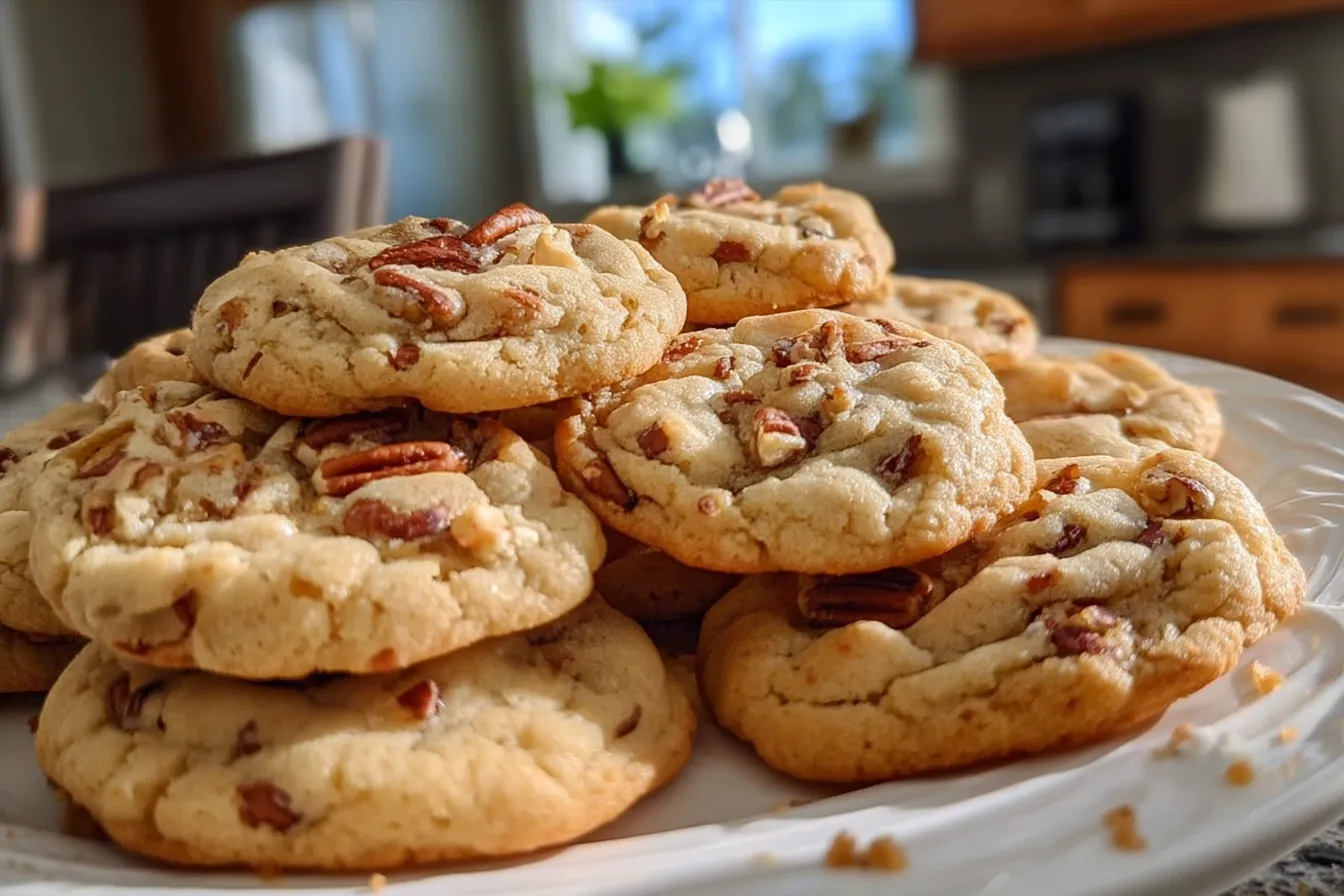
The Comfort of Homemade Butter Pecan Cookies Few things bring as much comfort as the …
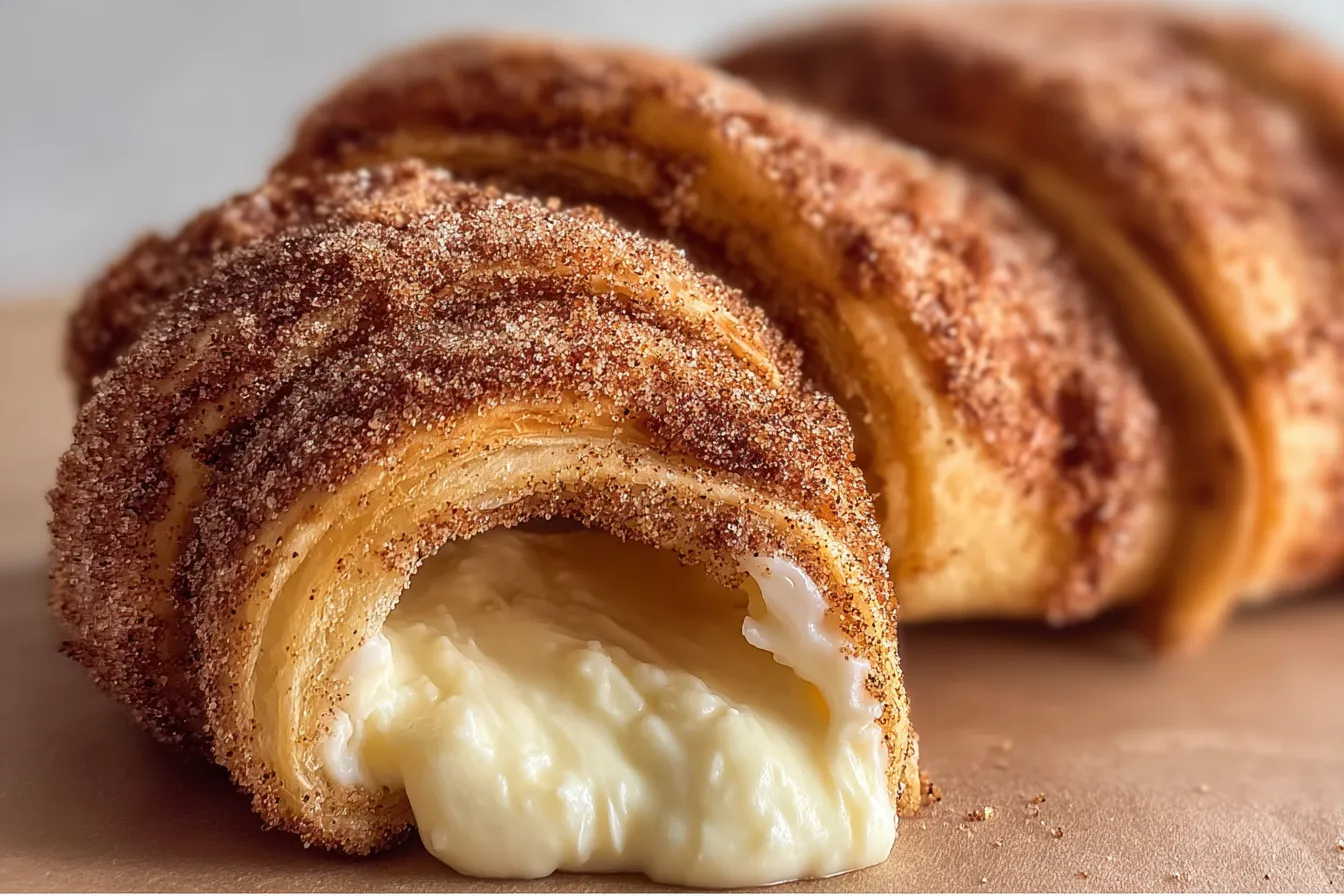
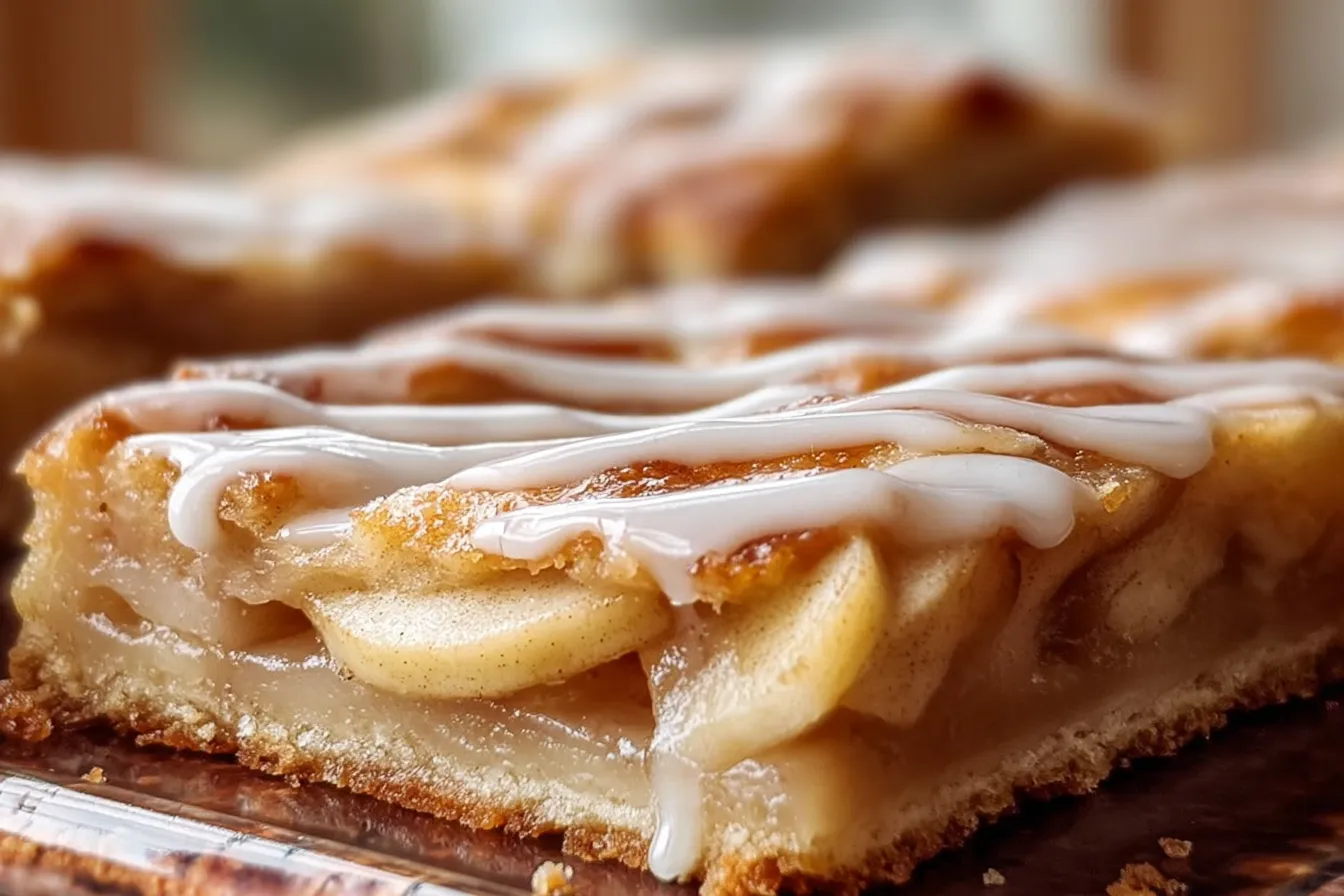
The Sweet Story Behind Cinnamon Sugar Cream Cheese Rolls If cozy comfort food had a …

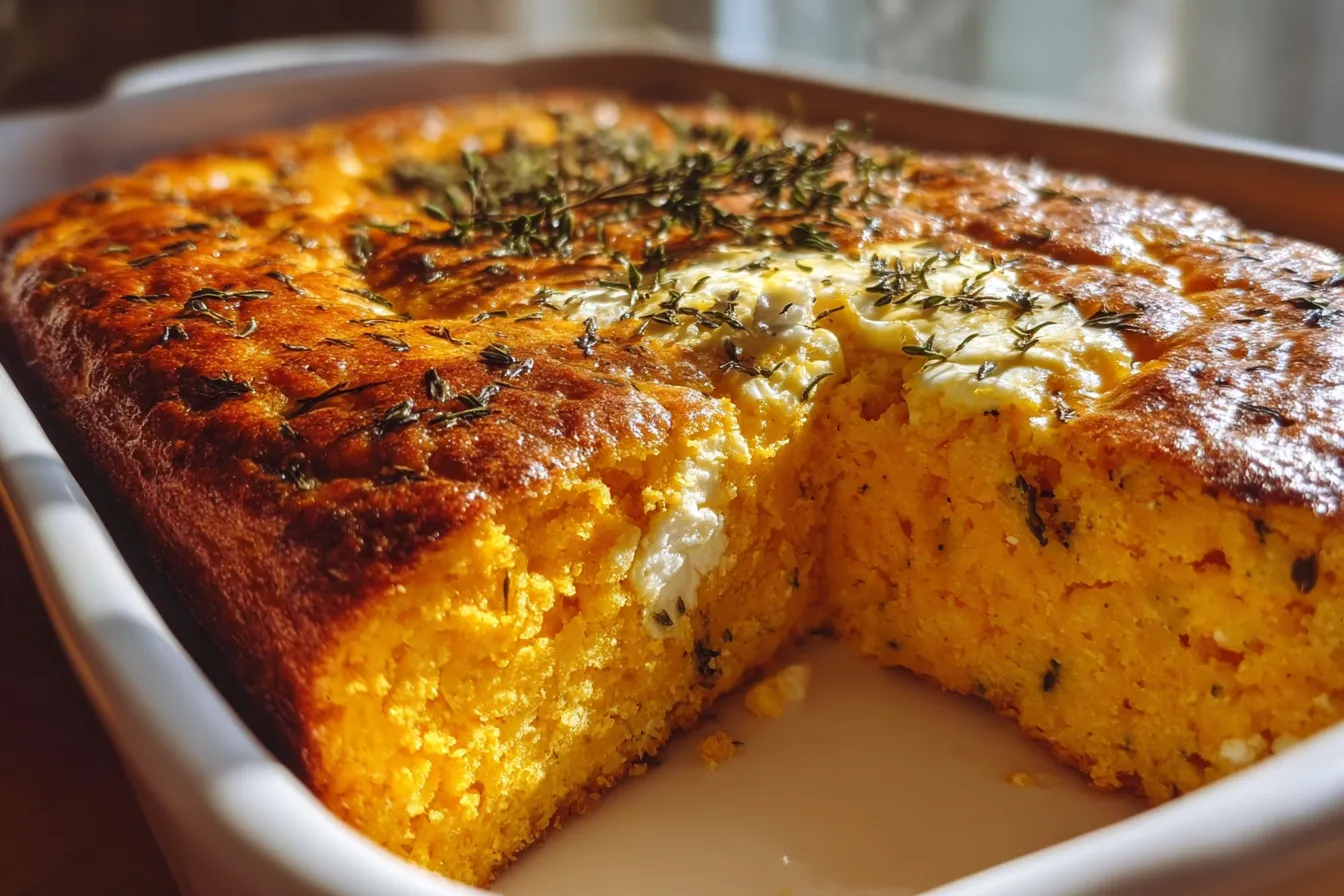
Fall’s Coziest Dessert Ever Imagine a warm, spiced pumpkin cake drenched in a silky cinnamon …
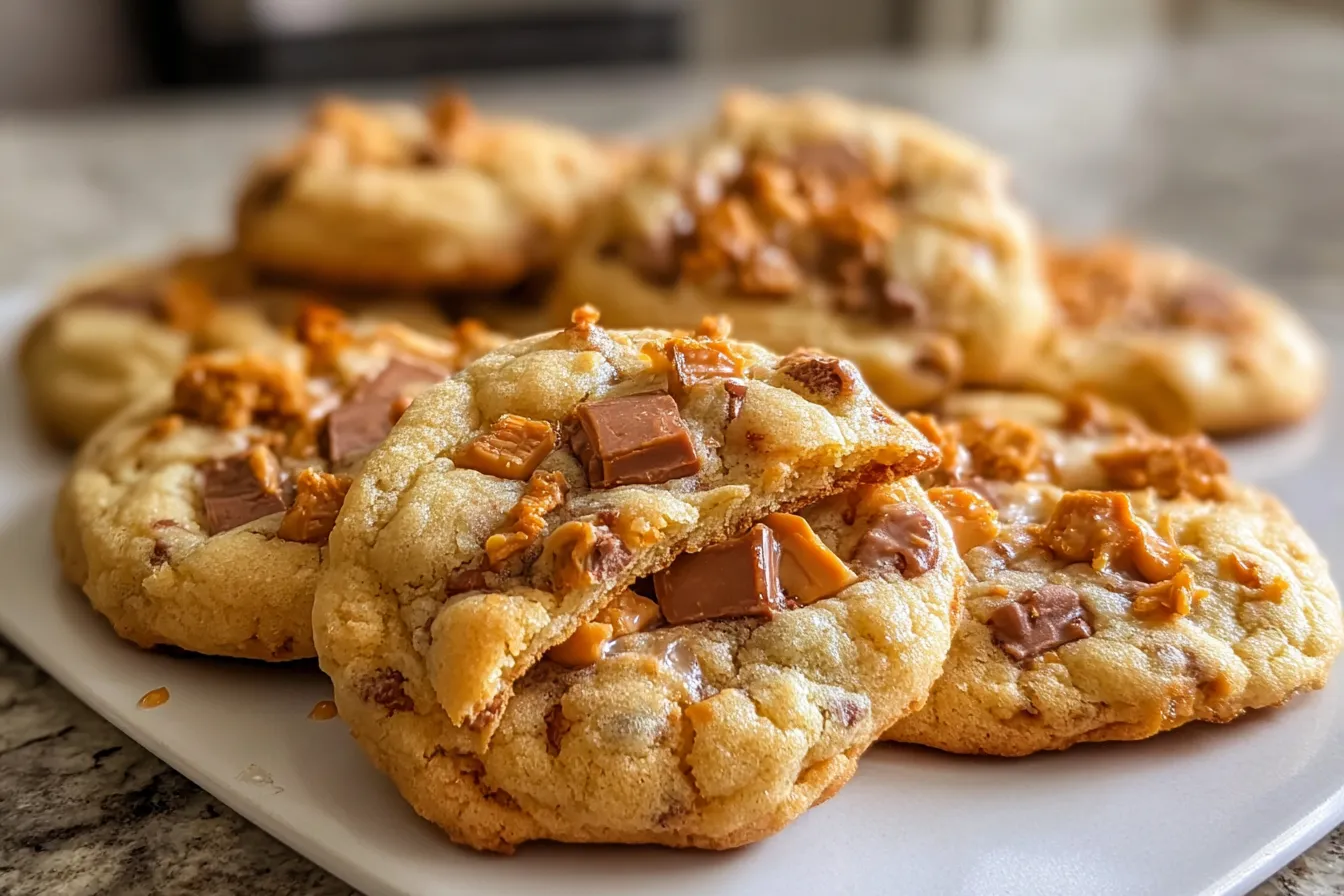
Imagine biting into a cookie that’s golden on the edges, soft in the center, and …