
Why Make This Recipe
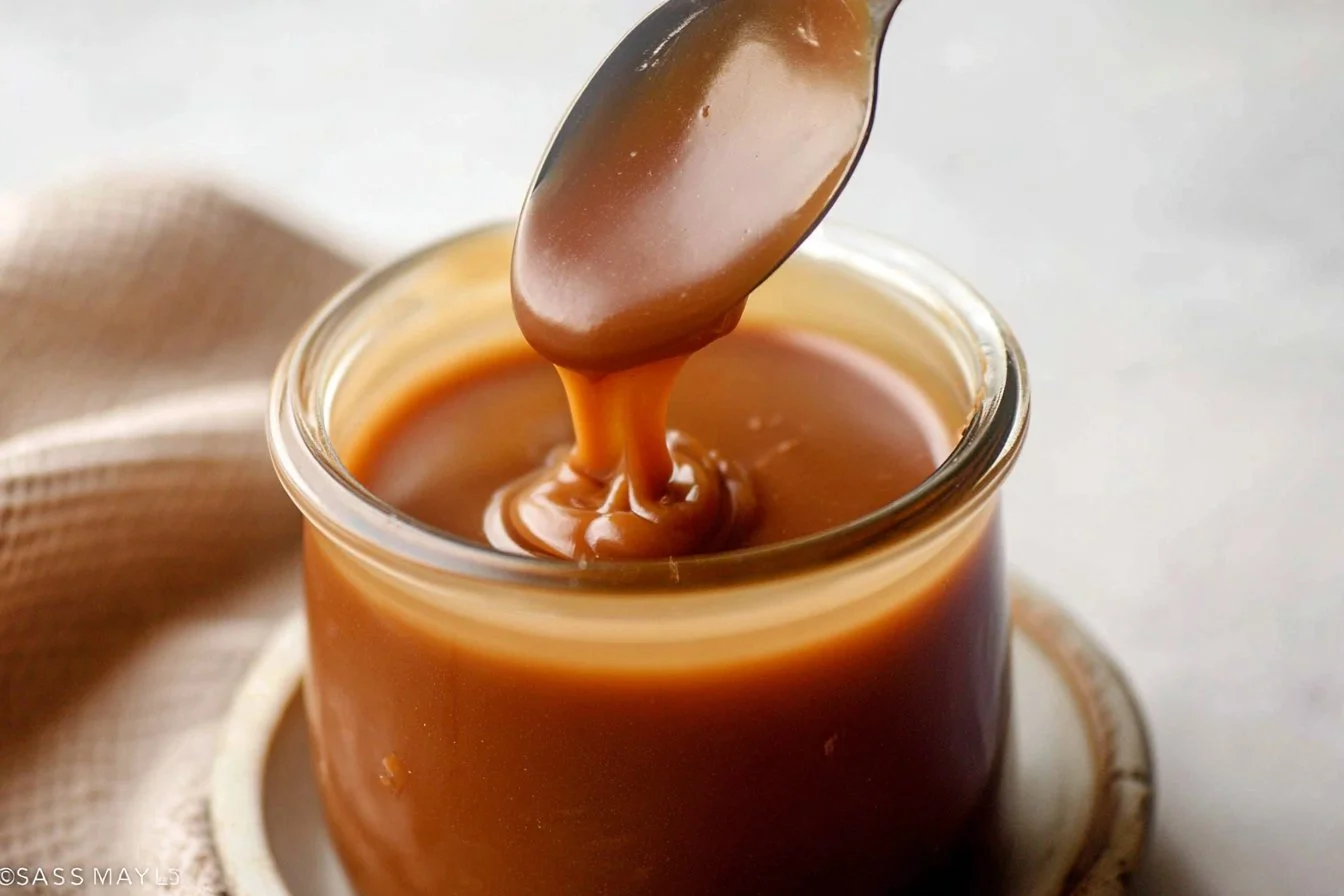
There’s just something about homemade salted caramel that feels special, isn’t there? Maybe it’s the rich, buttery flavor that just melts in your mouth or the delightful balance of sweetness and saltiness that makes your taste buds dance. When you make caramel at home, you’re not just creating a delicious treat; you’re crafting a little piece of happiness that can elevate any dessert.
Making your own salted caramel allows you to control the ingredients, ensuring freshness and eliminating any preservatives or artificial additives found in some store-bought versions. Plus, it makes for a fun kitchen project that’s sure to impress your family and friends! Whether you drizzle it over a decadent brownie sundae, mix it into your coffee, or simply eat it by the spoonful, this homemade salted caramel is sure to become a cherished staple in your kitchen.
But let’s dive deeper into why you should absolutely make this recipe. The process of making caramel might seem a little intimidating at first, but don’t worry! With a few simple ingredients and some patience, you’ll be crafting your caramel in no time. It’s all about understanding the science behind sugar and heat, and once you get it right, the possibilities are endless.
How to Make Homemade Salted Caramel
Ready to whip up a batch of homemade salted caramel? Here’s what you’ll need to get started.
Ingredients
- 1 cup (200g) granulated sugar (make sure it’s labeled “pure cane”)
- 6 Tablespoons (85g) unsalted butter, at room temperature and cut into 6 pieces
- 1/2 cup (120g/ml) heavy cream, at room temperature
- 1 teaspoon salt
Directions
Let’s get to the fun part! Here’s how to make your own homemade salted caramel step by step:
Gather Your Tools: Start with a medium heavy-duty stainless steel saucepan. Make sure you steer clear of nonstick pans, as you need to be able to monitor how the sugar transforms during cooking.
Melt the Sugar: Pour the granulated sugar into your saucepan and place it over medium heat. Grab a wooden spoon or a heat-safe silicone spatula; you’ll be doing a lot of stirring!
As you heat the sugar, keep stirring constantly. It will clump up and then begin to melt into a thick, amber-colored liquid. Don’t walk away from the stove! This process takes about 6 minutes, but it can vary depending on your stove. You want to keep stirring to prevent burning, especially around the edges where the sugar tends to caramelize faster.
Add the Butter: Once all the sugar is melted and reaches that beautiful amber color, it’s time to lower the heat to low and stir in the butter. This step can get a little dramatic! Be careful as the caramel may bubble vigorously when you add the butter. If you’re worried about getting splashed, wearing kitchen gloves is a good idea.
Keep stirring until the butter is completely melted and blended into the caramel. If you notice the butter separating or the sugar clumping again, take the pan off the heat and whisk vigorously for 3 to 4 minutes. Don’t worry; it will come back together with a bit of elbow grease!
Incorporate the Heavy Cream: Now, it’s time to introduce the heavy cream. Slowly and carefully pour it in while stirring continuously. The mixture will bubble and steam as the cold cream meets the hot caramel, so take it slow!
After adding all the heavy cream, stop stirring and increase the heat back to medium. Let it boil for 1 minute. It will rise as it boils. If you have a candy thermometer, aim for a temperature of 220°F (104°C) for the perfect consistency.
Finishing Touches: Remove the saucepan from the heat and stir in the salt. At this point, your caramel will be pretty thin, and that’s okay! Let it cool slightly; it will thicken up as it cools.
Storage: Once cool, cover tightly and store in the refrigerator for up to 1 month. Just remember that it will solidify in the fridge, so you’ll need to reheat it to your desired consistency before using.
How to Serve Homemade Salted Caramel
Now that you have your luscious salted caramel ready, the big question is: how do you serve it? The options are virtually limitless!
Desserts: Drizzle it over ice cream, brownies, or cheesecake for an indulgent twist. The contrasting flavors of sweet and salty work wonderfully with rich desserts.
Coffee Lovers Rejoice: Add a spoonful to your morning coffee or latte for a delightful treat that’s way better than anything you’ll find at a coffee shop.
Pancakes and Waffles: Pour it over pancakes or waffles in the morning for an extra-special breakfast. It’s like a hug for your taste buds!
In Baking: Use it as a filling in cakes, cupcakes, or cookies. Imagine biting into a salted caramel-stuffed cookie—heavenly, right?
As a Topping: Use it as a delightful topping for fruits such as sliced apples or pears. The sweet-salty combination can elevate even the simplest of snacks.
How to Store Homemade Salted Caramel
To keep your salted caramel fresh and delicious, proper storage is key.
Refrigeration: Store it in an airtight container in the refrigerator. As mentioned earlier, it can last up to a month, making it a fantastic treat to have on hand for spontaneous cravings or last-minute dessert needs.
Reheating: When you’re ready to use your caramel, simply reheat it. You can do this in the microwave in short 10-second bursts, stirring in between until it’s warmed through. If you prefer, you can also reheat it on the stove over low heat. Just be careful not to overheat it, as it can change the texture.