
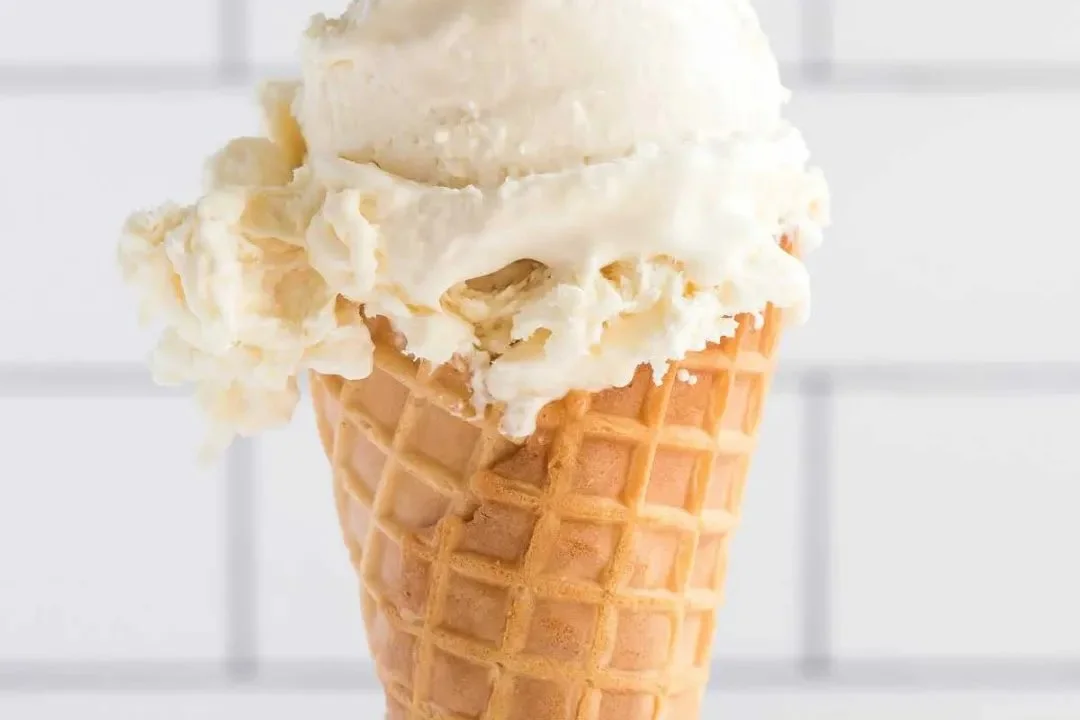
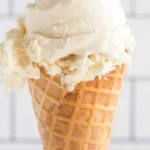
I can’t tell you how many times my kids have asked for ice cream after a long day of play. It’s a classic treat that usually puts a smile on their faces. But sometimes, the thought of going to the store just feels like too much! That’s when I whip up this super easy No-Churn Vanilla Ice Cream. With just a handful of ingredients, you can have a creamy delight that you’ll feel good about serving! Let me walk you through it.
Table of Contents
Why Make This Recipe
First off, let’s talk about why homemade ice cream is a winner. It’s so simple and you control all the ingredients. No weird preservatives or additives here! Plus, it’s just a fun activity to do with the kiddos. They can help mix and fold, and there’s nothing more delightful than waiting for ice cream to freeze while imagining all the flavors we could add—like chocolate chips, crushed cookies, or even fresh fruit!
The best part? You don’t need an ice cream maker! This no-churn technique is great for busy families and still gives you that rich, creamy texture that everyone loves.
How to Make No-Churn Vanilla Ice Cream
Now, let’s get to the fun part—making the ice cream! Here’s what you’ll need to gather:
Ingredients:
- 14 ounces sweetened condensed milk
- 2 teaspoons vanilla extract (or vanilla bean paste)
- A pinch of salt
- 2 cups heavy whipping cream (chilled)
Directions:
- Chill Out! Start by placing a large mixing bowl and a loaf pan in the freezer for about 30 minutes. This step helps keep everything nice and cold, which makes for a fluffier ice cream.
- Mix the Base. In a separate medium bowl, mix the sweetened condensed milk, vanilla extract, and a pinch of salt. Set it aside for now.
- Whip It Good. After your bowls have been chilled, take the large bowl out of the freezer. Add in the chilled heavy whipping cream and use an electric mixer on high speed. Whip it until stiff peaks form. This part gets a little loud but is oh-so-fun.
- Fold It Together. Carefully add the whipped cream to the sweetened condensed milk mixture, one cup at a time. Gently fold it in with a rubber spatula until everything is combined and creamy. No streaks should remain!
- Freezing Time! Pour the mixture into the loaf pan and spread it evenly. Cover the pan with foil and pop it in the freezer.
- Add Mix-Ins. After about 2 hours, you can add any mix-in ingredients if desired! Swirl them in with a knife. Then cover it again and freeze for another 3 hours or until set.
- Time to Enjoy! Remember to take it out about 5 minutes before you want to serve it, so it can soften up a bit.
How to Serve No-Churn Vanilla Ice Cream
Serving up this ice cream is a breeze! You can scoop it into cones or bowls, and I love to top it with a drizzle of chocolate syrup or some fresh berries for a little pop of color. It’s perfect for a simple dessert after dinner, or even a fun afternoon snack. Your kids will love it!
How to Store No-Churn Vanilla Ice Cream
Got leftovers? No problem! Just make sure to cover the loaf pan tightly with foil or plastic wrap and keep it in the freezer. It should stay good for about two weeks, but trust me, it’ll likely be gone long before then!
Tips to Make No-Churn Vanilla Ice Cream
- Chill Everything! Keeping your mixing bowl and whipped cream chilled is key to a creamy texture.
- Whip It High! Don’t be shy when whipping the cream; you want those stiff peaks to really hold their shape before folding.
- Flavor Variations. The sky’s the limit! Try adding in crushed Oreos, chocolate chips, or even a swirl of fudge or caramel for a tasty twist.
Variations
If you want to make it even more special, try experimenting with different flavors! A bit of cocoa powder can make it chocolatey, or you can add some fresh mint for a refreshing mint chocolate chip version. You could even sprinkle in a bit of your favorite fruit puree for a fruity treat!
You may be interested to read the following recipes as well :
5 Simple Steps to Make No Churn Corn Ice Cream at Home
Everything You Need to Know About Bubble Gum Ice Cream
3 Reasons to Love Propitious Mango Ice Cream This Summer
7 Delightful Reasons to Love Booza Ice Cream Today
4 Fun Ways to Enjoy Ice Cream Wrapped in Fruit Roll-Ups
FAQs
Can I use regular vanilla instead of vanilla bean paste?
Absolutely! Vanilla extract works wonderfully and is easy to find. But if you can get your hands on vanilla bean paste, it adds a lovely speckled look and extra flavor.
How can I make this dairy-free?
You can substitute the heavy whipping cream with coconut cream and use a dairy-free sweetened condensed milk. It won’t be exactly the same but will still be delicious!
Can I add mix-ins after it’s been frozen?
Yes, but remember that they might not mix in as well! It’s easiest to swirl them in before the ice cream sets.
So there you have it! Next time your kids are craving a treat, you can whip up this No-Churn Vanilla Ice Cream together with ease. It’s a hit in our house and I bet it will be in yours too! Enjoy!
No-Churn Vanilla Ice Cream
Ingredients
Base Ingredients
- 14 ounces sweetened condensed milk
- 2 teaspoons vanilla extract (or vanilla bean paste) Vanilla bean paste adds extra flavor and a speckled look
- a pinch salt
- 2 cups heavy whipping cream (chilled) Chill before use
Instructions
Preparation
- Chill a large mixing bowl and loaf pan in the freezer for about 30 minutes.
- In a medium bowl, mix the sweetened condensed milk, vanilla extract, and a pinch of salt. Set aside.
Whipping Cream
- Remove the mixing bowl from the freezer. Add chilled heavy whipping cream and whip on high speed until stiff peaks form.
Combining Mixtures
- Carefully fold the whipped cream into the sweetened condensed milk mixture one cup at a time until well combined.
Freezing
- Pour the mixture into the loaf pan, cover with foil, and freeze.
- After about 2 hours, add any optional mix-ins and swirl them in, then cover and freeze for another 3 hours or until set.
Serving
- Take the ice cream out about 5 minutes before serving to soften it a bit.