
Step 1 – Preheat and Prepare Your Pan
Start by preheating your oven to 350°F (175°C) — the sweet spot for baking a moist, evenly cooked honeybun-style cake. Grease a 9×13-inch baking pan generously with butter or nonstick spray, making sure to coat every corner. This ensures your cake releases beautifully once baked. For extra insurance, line the pan with parchment paper, leaving a little overhang on the sides to lift the cake out effortlessly later.
This step might seem simple, but it’s crucial. A well-prepared pan means your red velvet layers bake evenly and your cinnamon-sugar swirl doesn’t stick to the bottom. You’re setting yourself up for success right from the start.
Step 2 – Mix the Red Velvet Batter
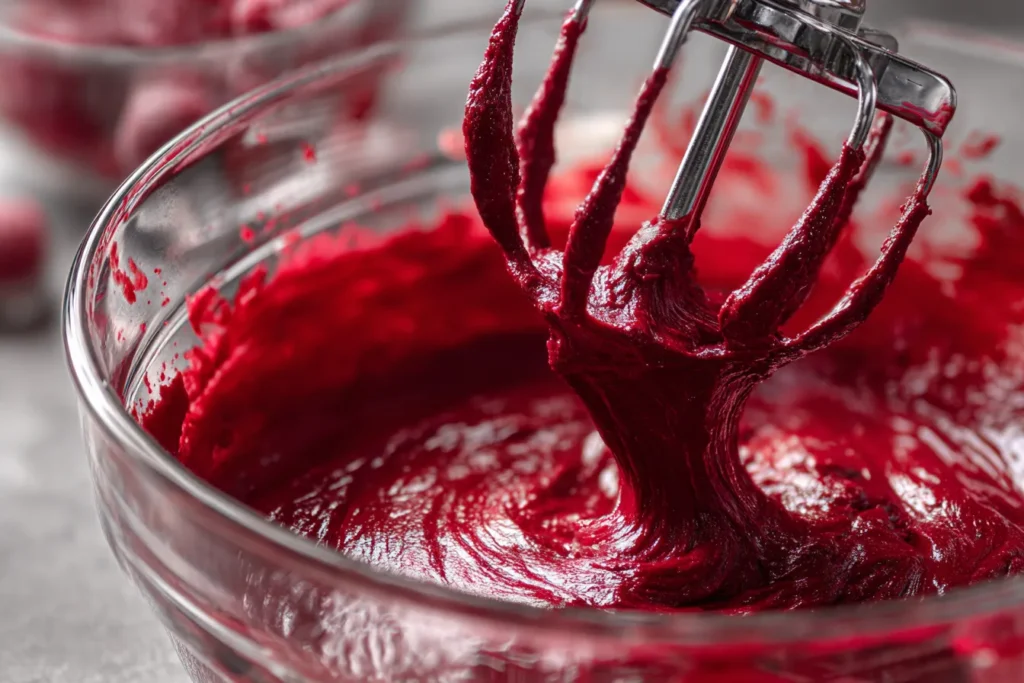
In a large mixing bowl, add your red velvet cake mix, sour cream, eggs, vegetable oil, water, granulated sugar, and vanilla extract. Using an electric mixer, beat on medium speed for about 2–3 minutes until the mixture becomes smooth, thick, and velvety.
What’s happening here is pure baking science — the eggs and oil create an emulsion that traps air, the sour cream adds moisture, and the sugar helps develop that irresistible tender crumb. You’ll notice the batter taking on a glossy, rich texture that already hints at the indulgence to come.
Pro Tip: Don’t overmix. Once your batter looks uniform, stop mixing to avoid a dense cake.
The result? A batter that feels light yet luscious — like a cross between velvet and silk.
Step 3 – Make the Cinnamon Swirl
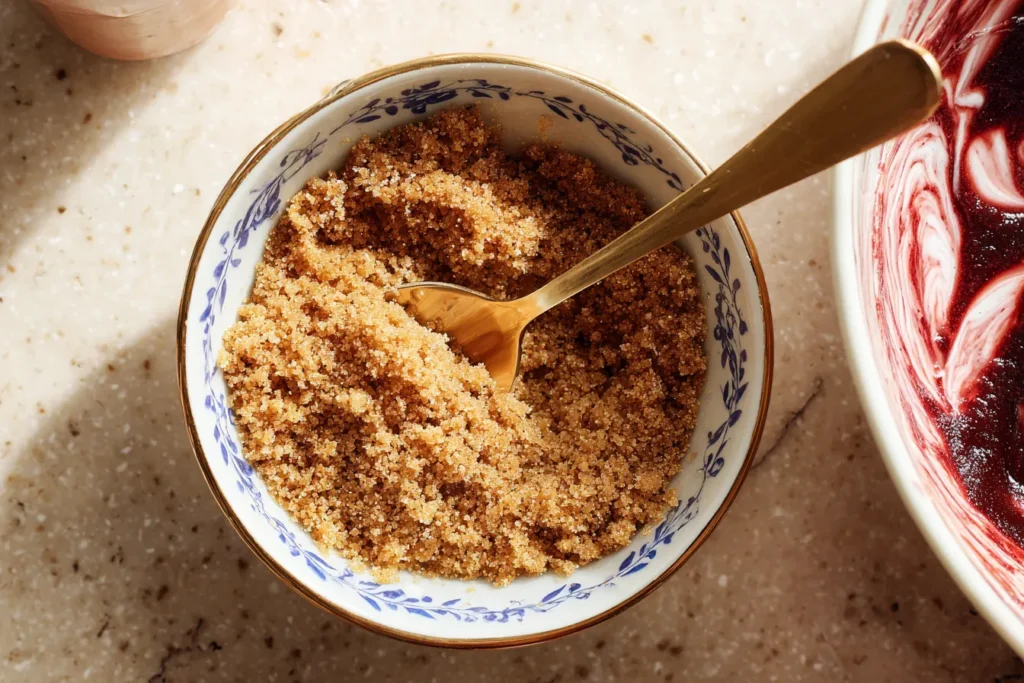
In a separate small bowl, combine 1 cup brown sugar with 1 tablespoon cinnamon. Stir until fully blended — the mixture should look like fragrant, golden sand. This simple combo is the magic behind the “honeybun” in your cake.
Now here’s where things get even more delicious: take about half of the red velvet batter and fold it gently into the cinnamon-sugar mixture. This creates a marbled swirl base that will caramelize as it bakes, adding depth, moisture, and that irresistible sticky-sweet texture we all love in honeybun cakes.
If you want a more dramatic swirl effect, you can even layer the plain and cinnamon-infused batters alternately when assembling. The baked result will showcase gorgeous ribbons of red and brown sugar spiraling through every slice — like edible art.
Step 4 – Assemble and Bake
Pour half of the plain red velvet batter into your prepared pan and spread it evenly with a spatula. Next, sprinkle the cinnamon-sugar mixture evenly over this first layer — don’t be shy! That’s where the rich, gooey flavor comes from. Finally, pour the remaining red velvet batter on top, spreading gently to cover the sugar layer completely.
Once assembled, the cake will look layered but rustic — exactly what you want. As it bakes, the cinnamon sugar melts down into the cake, forming caramelized tunnels and golden pockets of sweetness.
Bake for 30–35 minutes, or until a toothpick inserted into the center comes out clean. Your kitchen will smell heavenly — a mix of warm spice, vanilla, and cocoa that fills every corner of your home.
When done, set the pan on a wire rack and allow the cake to cool completely before icing. Patience is key here! Frosting too early will cause the icing to melt into the cake instead of sitting beautifully on top.
Step 5 – Make the Cinnamon Cream Cheese Icing
While your cake cools, it’s time to prepare the star of the show — the Cinnamon Cream Cheese Icing.
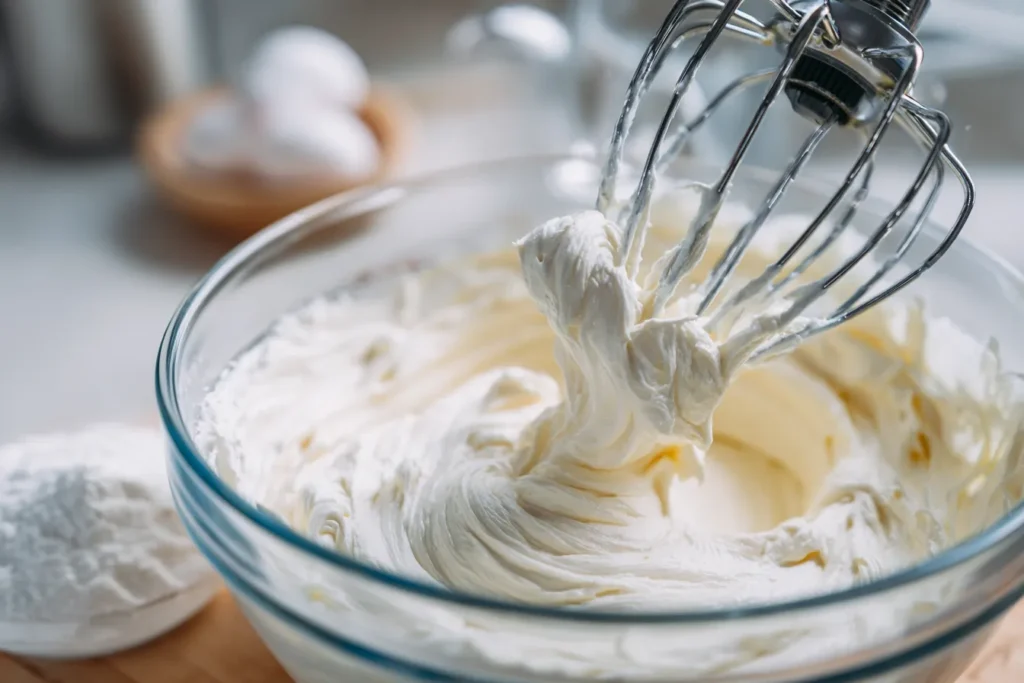
In a medium mixing bowl, beat together 8 oz softened cream cheese and ¼ cup unsalted butter until smooth and fluffy. The texture should be silky, with no lumps. Gradually add 2 cups powdered sugar, mixing on low at first (to avoid sugar clouds!) and then increasing speed once incorporated.
Add 1 teaspoon vanilla extract and 1 teaspoon cinnamon, beating until the icing is creamy and fragrant. For a drizzle-style consistency, mix in 2–3 tablespoons milk, one tablespoon at a time, until the icing flows easily off a spoon but isn’t runny.
This frosting tastes like a cinnamon roll met a cheesecake — sweet, tangy, and perfectly spiced. It pairs beautifully with the red velvet base, cutting through the sweetness with a touch of warmth and creaminess.
Step 6 – Cool, Drizzle, and Serve
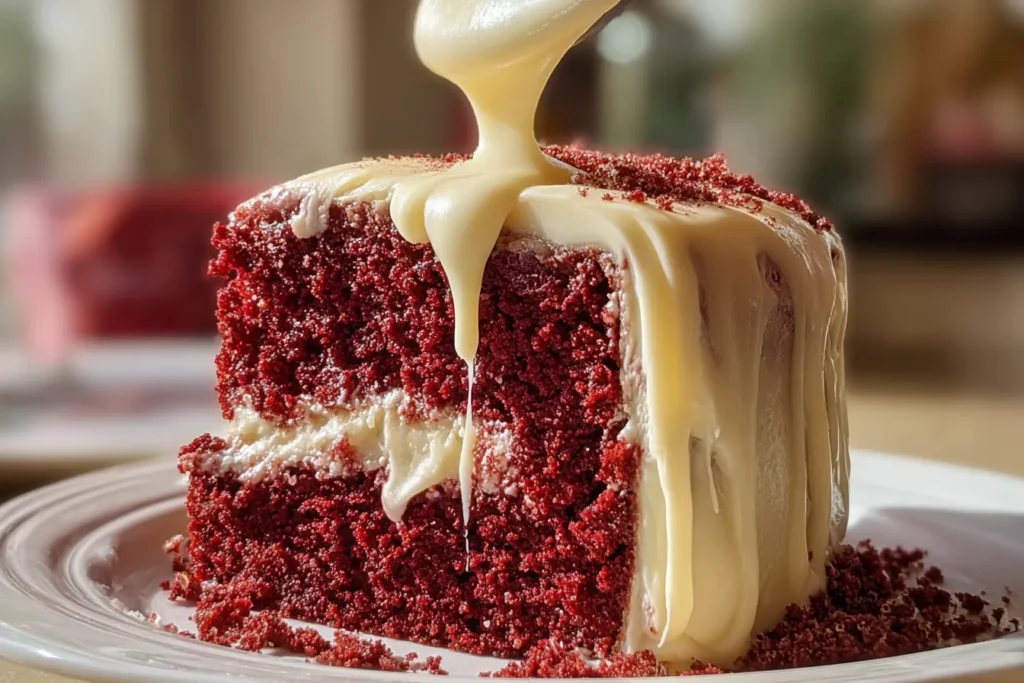
Once your cake is fully cooled, use a spoon, spatula, or piping bag to drizzle the cinnamon cream cheese icing over the top. You can go for elegant zigzags or a rustic, thick pour that cascades down the sides — there’s no wrong way to do it.
The icing will slightly sink into the top layer of the cake, enhancing that honeybun texture. Sprinkle a light dusting of cinnamon or even a few crushed pecans on top if you want a decorative finish.
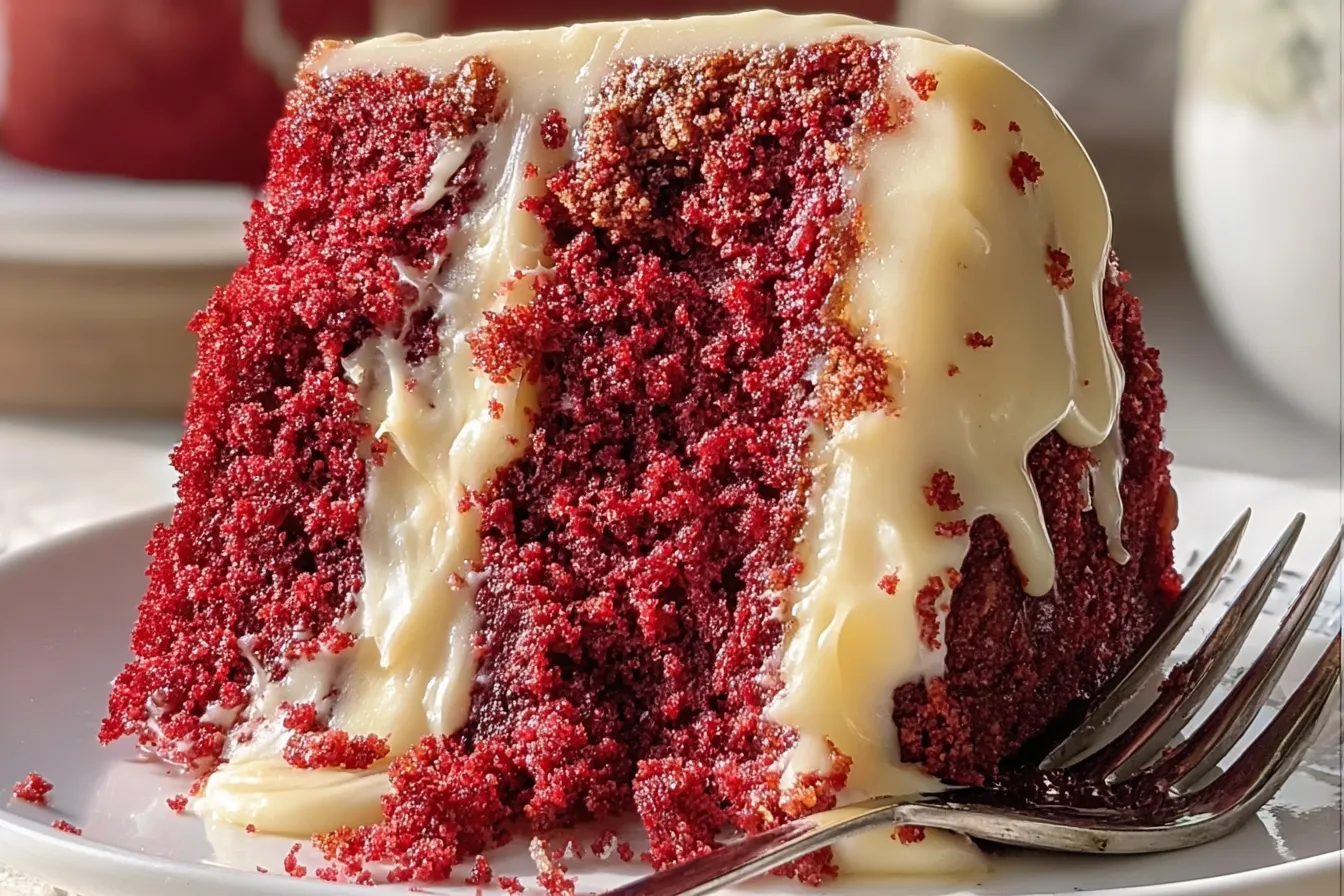
Slice into squares and serve — each piece is moist, gooey, and beautifully marbled, with that tangy cinnamon frosting melting into every bite. This cake tastes even better the next day as the flavors meld, so feel free to make it ahead of time.
Tips for Baking the Perfect Honeybun Cake
Even the simplest cakes can go wrong without the right little tricks, and this one deserves perfection. Here’s how to ensure your Red Velvet Honeybun Cake turns out bakery-level every single time:
- Use Room Temperature Ingredients: Especially the sour cream, eggs, and cream cheese. This helps everything blend smoothly, creating a uniform texture.
- Don’t Overmix the Batter: Once you’ve combined the wet and dry ingredients, stop mixing. Overmixing develops too much gluten and can lead to a dense or tough cake.
- Layer Evenly: When adding the cinnamon-sugar mixture, try to sprinkle it evenly so the flavor spreads throughout the cake. Clumps of sugar can create uneven baking.
- Bake on the Middle Rack: This ensures even heat distribution, preventing the top from overbrowning before the center is cooked.
- Cool Completely Before Frosting: Cream cheese icing melts easily, and frosting a warm cake will make it run off the sides instead of staying beautifully on top.
- Add Milk Gradually to Icing: The consistency of your drizzle can make or break the presentation. Add just enough milk for a silky, pourable glaze.
- Experiment with Presentation: For a bakery finish, drizzle extra icing in thin ribbons and top with a sprinkle of cinnamon dust or edible glitter for a festive touch.
Creative Add-Ons and Variations
Once you’ve mastered the classic recipe, try putting your own spin on it! This cake is a perfect blank canvas for creativity.
1. Red Velvet Honeybun Cupcakes:
Spoon the batter into lined muffin tins, adding a layer of cinnamon-sugar swirl in the middle. Bake for about 18–20 minutes and drizzle the icing over each cupcake. Perfect for parties or gift boxes!
2. Add Chocolate Chips or White Chocolate Drizzle:
For a richer flavor, fold mini chocolate chips into the batter or drizzle melted white chocolate on top of the finished cake for contrast and extra sweetness.
3. Make It Holiday-Themed:
Add crushed peppermint candies to the icing for a Christmas twist, or top with heart-shaped sprinkles for Valentine’s Day. The red hue of the cake already makes it a natural fit for festive celebrations.
4. Add Crunch:
Mix in chopped pecans or walnuts to the batter or sprinkle them on top of the icing for a bit of texture. The nutty crunch balances beautifully with the smooth frosting.
5. Caramel Cinnamon Glaze:
If you want to take indulgence up a notch, drizzle a little salted caramel over the icing. The mix of caramel and cinnamon is a flavor match made in heaven.
This cake truly adapts to your imagination — sweet enough for celebrations, comforting enough for a quiet night in.
You may read as well :
7 Irresistible Ways to Enjoy Cinnamon Roll Bliss Bars
Honeybun Carrot Cake with Cheesecake Filling & Cinnamon Cream Cheese Icing
Red Velvet Honeybun Cake with Cinnamon Cream Cheese Icing
Equipment
- Mixing Bowls
- 9×13-inch Baking Pan
- Hand Mixer or Whisk
- Spatula
Ingredients
Cake Batter
- 1 box red velvet cake mix
- 1 cup sour cream
- 4 large eggs
- 1/2 cup vegetable oil
- 1/2 cup water
- 1/2 cup granulated sugar
- 1 tsp vanilla extract for batter
Honeybun Swirl
- 1 cup brown sugar, packed
- 1 tbsp ground cinnamon
Cinnamon Cream Cheese Icing
- 8 oz cream cheese, softened
- 1/4 cup unsalted butter, softened
- 2 cups powdered sugar
- 1 tsp vanilla extract for icing
- 1 tsp ground cinnamon for icing
- 2–3 tbsp milk optional, to adjust consistency
Instructions
- Preheat oven to 350°F (175°C) and grease a 9×13 inch baking pan to ensure easy release.
- In a large bowl, whisk together red velvet cake mix, sour cream, eggs, vegetable oil, water, granulated sugar, and 1 teaspoon of vanilla extract until smooth and well combined.
- In a separate bowl, mix the brown sugar and ground cinnamon. Fold half of the cake batter into this mixture to create the honeybun swirl.
- Pour half of the red velvet batter into the greased pan, sprinkle the brown sugar mixture evenly on top, then pour the remaining batter over it.
- Bake for 30–35 minutes, or until a toothpick inserted in the center comes out clean. Cool completely before frosting.
- For the icing: beat together cream cheese, butter, powdered sugar, vanilla extract, and ground cinnamon until smooth. Add milk as needed to reach desired consistency.
- Once the cake is cool, drizzle or spread the cinnamon cream cheese icing over the top. Slice and serve!
Notes
Healthier Substitutions (Without Losing Flavor)
Yes, you can make a slightly lighter version of this cake without sacrificing taste! Here’s how:
- Swap Sour Cream for Greek Yogurt: Greek yogurt gives the same tang and moisture but with added protein and less fat.
- Use Coconut Oil Instead of Vegetable Oil: It adds a subtle sweetness and is a healthier fat alternative.
- Reduce Sugar Slightly: The cake is sweet enough that you can reduce granulated sugar by ¼ cup and still maintain flavor.
- Use Neufchâtel Cheese for the Icing: This lighter version of cream cheese cuts down on calories while keeping the frosting creamy.
- Whole Wheat Pastry Flour: Replace half the all-purpose flour with whole wheat pastry flour to sneak in some extra fiber.
- Smaller Portions: Cut the cake into smaller squares — this dessert is rich, and even a small piece satisfies that sweet craving!
These small swaps make it easier to enjoy your favorite dessert guilt-free while keeping that signature red velvet flavor and moist texture intact.
How to Serve It Like a Pro
Presentation turns a homemade cake into a showstopper. Here’s how to elevate your Red Velvet Honeybun Cake for any occasion:
- For Parties: Slice into clean squares and arrange on a white platter. Drizzle extra icing in a crisscross pattern and dust with cinnamon or cocoa powder.
- For Holidays: Add gold sprinkles or edible pearls on top for a festive touch.
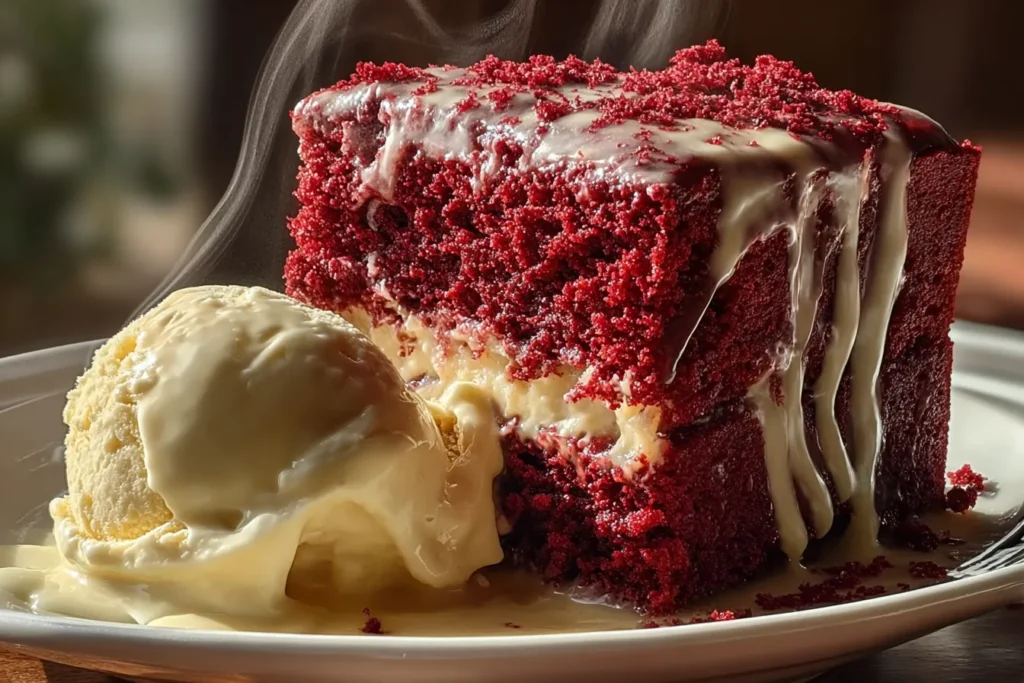
- For a Cozy Dessert Night: Serve warm with a scoop of vanilla or cinnamon ice cream — the contrast of hot and cold is divine!
- For Brunch: Pair with coffee or chai latte. The spices in the cake complement warm drinks beautifully.
- For Gift-Giving: Cut into pieces, wrap in parchment, and tie with twine — a homemade dessert that feels like a hug in a box.
Trending recipes right now :
Honey Butter Sweet Alabama Pecanbread
Honey Butter Sweet Potato Cornbread Recipe
Common Mistakes to Avoid
Even the most delicious recipes can go wrong if you miss a few key details. Luckily, the most common mistakes with this Red Velvet Honeybun Cake are easy to avoid once you know what to watch for. Here’s how to keep your bake flawless every single time:
1. Overmixing the Batter
Once you’ve added your wet and dry ingredients together, stop mixing as soon as the batter looks smooth. Overmixing can cause gluten to form, giving you a dense, chewy texture instead of that light, velvety crumb we love.
2. Skipping the Cooling Step
Patience pays off! If you pour the Cinnamon Cream Cheese Icing onto a hot or even warm cake, it will melt, lose its body, and soak into the cake too much. Let the cake cool completely before icing — your drizzle will look glossy, elegant, and picture-perfect.
3. Uneven Layering of Cinnamon Sugar
When adding your brown sugar and cinnamon mixture, sprinkle it evenly across the surface. Dumping it in clumps can cause pockets that bake unevenly or sink. An even layer ensures that sweet swirl runs beautifully through the cake.
4. Using Cold Cream Cheese
Cold cream cheese will create lumps in your frosting. Always bring both your cream cheese and butter to room temperature before beating them together. This step guarantees a silky-smooth, lump-free icing that spreads or drizzles beautifully.
5. Overbaking the Cake
Honeybun-style cakes should stay ultra-moist. Check the cake around the 30-minute mark; when a toothpick comes out with just a few moist crumbs (not wet batter), it’s ready. Overbaking dries it out and dulls that indulgent texture.
6. Storing It Uncovered
Leaving your cake uncovered can cause it to dry quickly. Always store it in an airtight container once it’s fully cooled, or cover it tightly with plastic wrap. This locks in the moisture and preserves that tender crumb for days.
Storage, Freezing, and Make-Ahead Tips
This Red Velvet Honeybun Cake is perfect for preparing in advance — it actually tastes even better after a day as the flavors meld. Here’s how to store it perfectly:
Short-Term Storage:
Keep your cake covered in an airtight container at room temperature for up to 2 days. If your kitchen is warm, store it in the fridge instead.
Refrigeration:
Store in the refrigerator for up to 5–6 days. Because of the cream cheese icing, refrigeration is the best long-term option. Before serving, let slices sit at room temperature for about 20 minutes to regain that soft, luscious texture.
Freezing:
Want to save some for later? You can! Here’s how:
- Let the cake cool completely and set the icing.
- Slice into squares and wrap each piece tightly in plastic wrap, then in aluminum foil.
- Place in an airtight freezer-safe container or freezer bag.
- Freeze for up to 3 months.
Reheating for Freshness:
To serve, thaw slices overnight in the refrigerator. For that “just-baked” warmth, heat individual portions in the microwave for 10–15 seconds — the icing softens and the cake feels freshly made again.
Make-Ahead Option:
You can bake the cake a day or two ahead and prepare the icing fresh on the day of serving. Drizzle it right before presentation for that glossy, bakery-perfect finish.
Why This Cake Feels Like a Hug in Dessert Form 🤎
There’s something incredibly nostalgic about the combination of red velvet, cinnamon, and cream cheese. It’s sweet but balanced, bold but comforting — a dessert that feels like home.
Every element plays a role in the emotional experience this cake delivers:
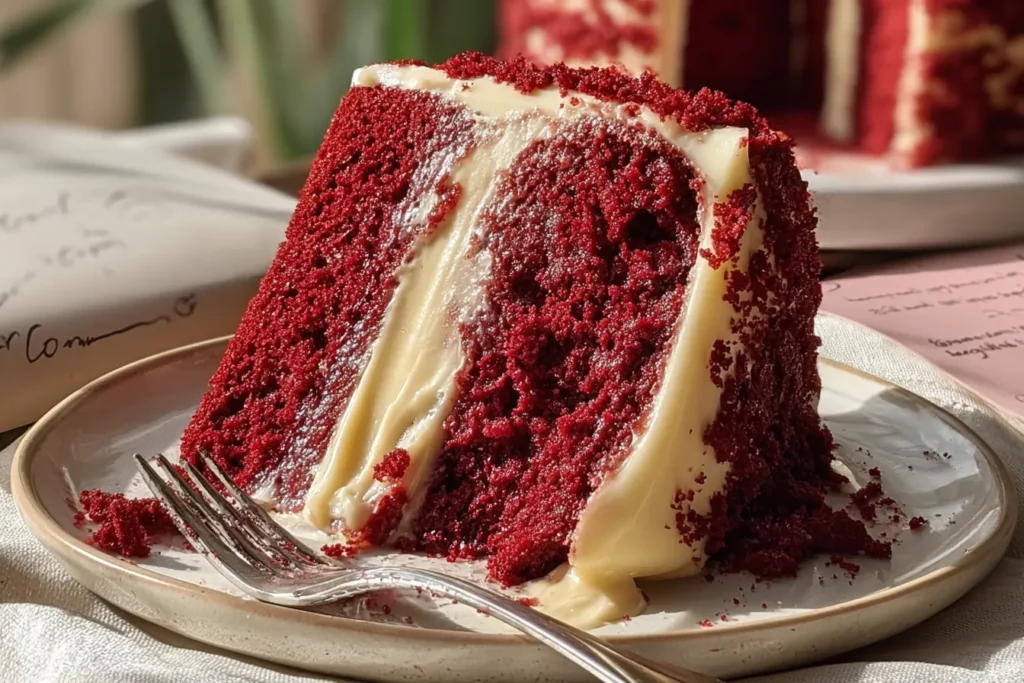
- The Red Velvet Base brings richness, elegance, and that stunning deep red color.
- The Cinnamon Swirl adds warmth, nostalgia, and the aroma of home-baked love.
- The Cream Cheese Icing ties it all together with tangy smoothness that melts into every bite.
It’s a cake that reminds people of Sunday mornings, cozy holidays, and those shared moments in the kitchen when time slows down. The first slice might impress your guests — but it’s the second that makes them ask for the recipe.
This isn’t just a dessert. It’s a sensory experience. The smell of cinnamon in the air, the softness of the crumb, and that rich drizzle over the top — it’s comfort, joy, and indulgence all baked into one beautiful creation.
Conclusion – The Red Velvet Dream You’ll Make Again and Again 🎂
If ever there was a cake that deserved a permanent spot in your recipe collection, it’s this one. The Red Velvet Honeybun Cake with Cinnamon Cream Cheese Icing is the definition of an irresistible hybrid dessert — easy to make, gorgeous to serve, and absolutely unforgettable in flavor.
It’s a cake that celebrates both sides of baking: the creativity of combining flavors and the simplicity of creating joy from your kitchen. Whether it’s for a holiday table, a birthday surprise, or a sweet craving on a Sunday afternoon, this cake delivers every single time.
The best part? It’s almost impossible to mess up. Even beginner bakers can create bakery-level results with this foolproof method. Every bite tastes like love — velvety, spiced, and oh-so-moist.
So go ahead and make it once, and you’ll see: this isn’t just another cake. It’s a new tradition waiting to happen. ❤️
FAQs
Q1: Can I use homemade red velvet cake mix instead of boxed?
Absolutely! You can use your favorite homemade red velvet cake recipe — just make sure the batter amount equals about the same as a standard 15.25 oz boxed mix.
Q2: Can I make this cake ahead of time?
Yes! In fact, it often tastes better the next day. Bake and cool completely, store covered at room temperature or in the fridge, then add the icing the day of serving.
Q3: How do I make the icing thicker or thinner?
To thicken, add more powdered sugar one tablespoon at a time. To thin it out, add milk one teaspoon at a time until you reach a smooth, pourable consistency.
Q4: Can I turn this into cupcakes?
Definitely! Divide the batter into cupcake liners, filling each about ¾ full, and bake for 18–20 minutes. Swirl cinnamon sugar into the middle before baking, then top with a drizzle of icing once cooled.
Q5: How long will it last in the fridge?
Properly stored in an airtight container, your cake will stay fresh for up to 6 days. Just let it come to room temperature before enjoying for that perfect soft bite.
Final Thought
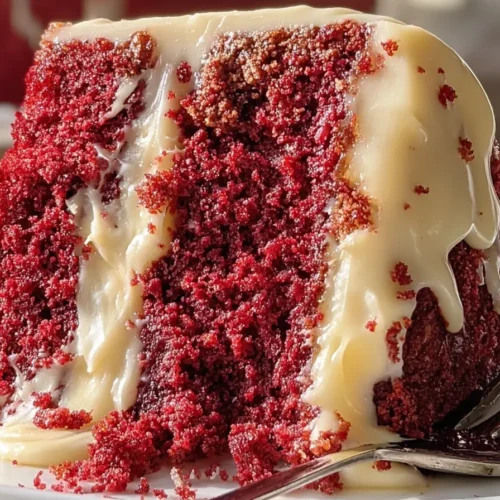
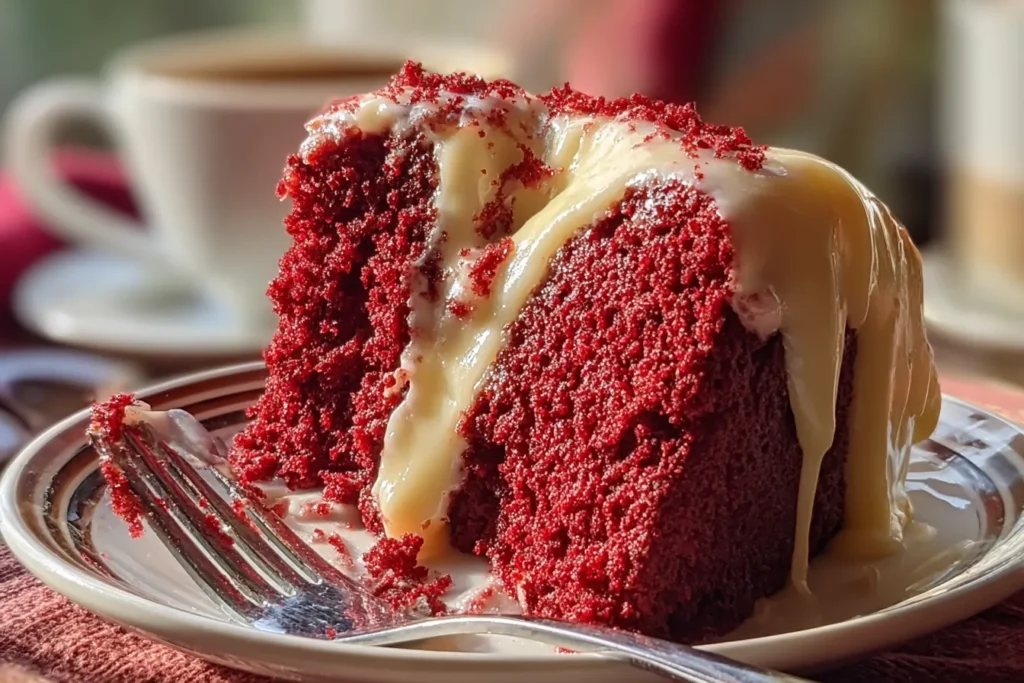
This Red Velvet Honeybun Cake with Cinnamon Cream Cheese Icing is the kind of dessert that turns ordinary moments into memories. The swirl of cinnamon sugar through that ruby-red crumb, the tangy cream cheese glaze dripping down the sides — it’s more than just cake. It’s pure, edible happiness.
Whether you serve it warm with coffee, chilled with ice cream, or gift-wrapped for someone special, it always hits the sweet spot. ❤️