Ever wonder why a dish from a restaurant tastes so much better than the one you make at home—even if you follow the exact recipe? The truth is, chefs have a collection of secrets up their sleeves. They’re not magic tricks, but small habits, techniques, and ingredient swaps that transform everyday food into something extraordinary. Professional kitchens are fast-paced, high-pressure environments, and over time, chefs develop shortcuts and methods to make cooking easier, faster, and more flavorful.
These tricks don’t require expensive equipment or years of culinary school. Instead, they’re all about learning how to handle ingredients properly, respecting flavor layers, and paying attention to details that most home cooks overlook. From knowing when to salt to mastering the art of sauces, these tips will elevate your cooking game and give you confidence in the kitchen.
So, let’s dive into 50 secrets chefs won’t tell you—until now.
Table of Contents
Mastering the Basics
It’s All About the Knife Skills
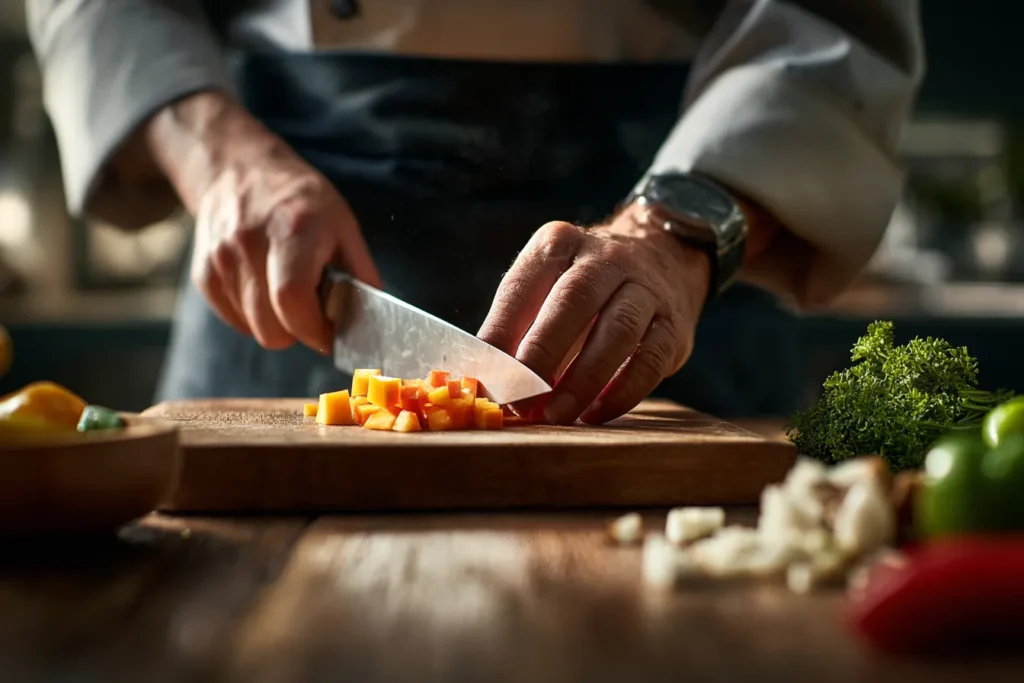
If you’ve ever watched a chef chop herbs at lightning speed or dice onions into perfect little cubes, you’ve probably thought: “Wow, I wish I could do that.” The truth is, knife skills aren’t just about looking fancy. They serve a real purpose—ensuring your food cooks evenly. Imagine tossing a mix of chunky carrots and paper-thin onions into the same pan. One will burn before the other softens. Chefs slice with precision so every ingredient hits the same doneness at the same time.
But here’s the thing: you don’t need to cut like Gordon Ramsay on day one. Start with learning a proper grip on the knife—pinching the blade between your thumb and index finger instead of holding the handle like a baseball bat. Then, practice consistency. Even-sized pieces matter more than speed. With practice, you’ll get faster and more confident. Plus, sharp knives are actually safer than dull ones, since they require less force and are less likely to slip.
A little effort here pays off massively. Not only will your dishes look more professional, but they’ll also taste better because every bite is cooked just right.
Always Be Prepared with Mise en Place
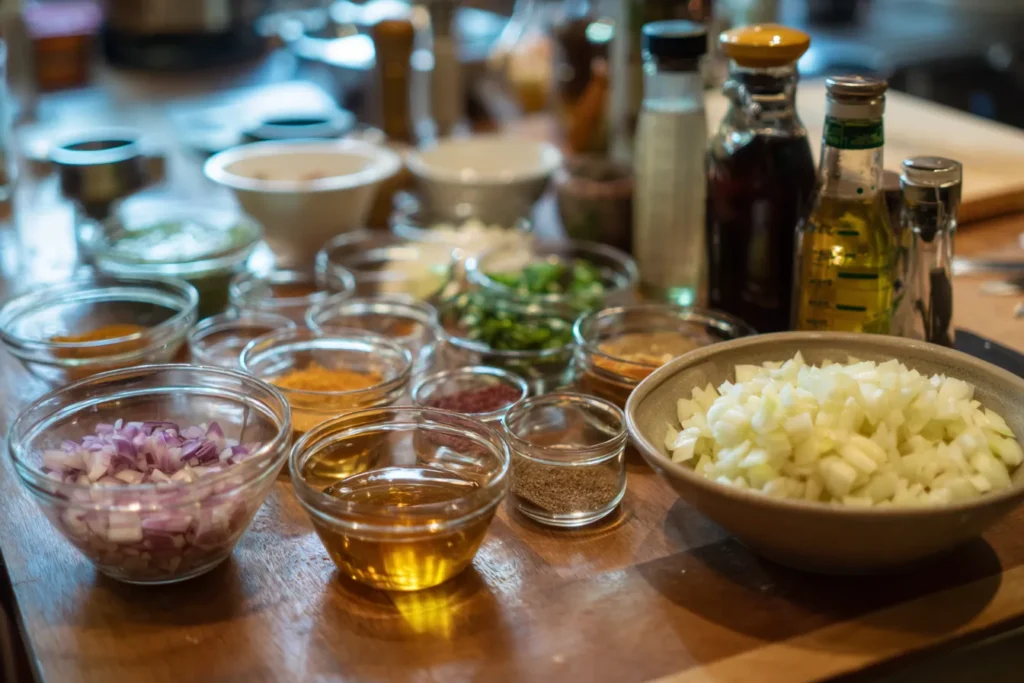
Chefs live by one golden rule: mise en place, a French term that means “everything in its place.” It might sound fancy, but in practice, it’s simple—prep all your ingredients before you start cooking. Chop the onions, measure the spices, have your broth ready. When you walk into a professional kitchen, you’ll see containers of prepped veggies, meats, and sauces lined up like soldiers, ready for battle.
Why? Because scrambling to peel garlic while your onions are burning is a recipe for disaster. At home, mise en place might mean setting out spices, dicing veggies, and keeping your cutting board tidy before turning on the stove. It doesn’t just make cooking smoother—it makes it calmer and more enjoyable.
Think of it like painting. An artist wouldn’t start a canvas without brushes, paints, and water ready to go. Cooking is no different. When you practice mise en place, you’ll spend less time stressed and more time enjoying the process.
Learn to Break Down a Chicken
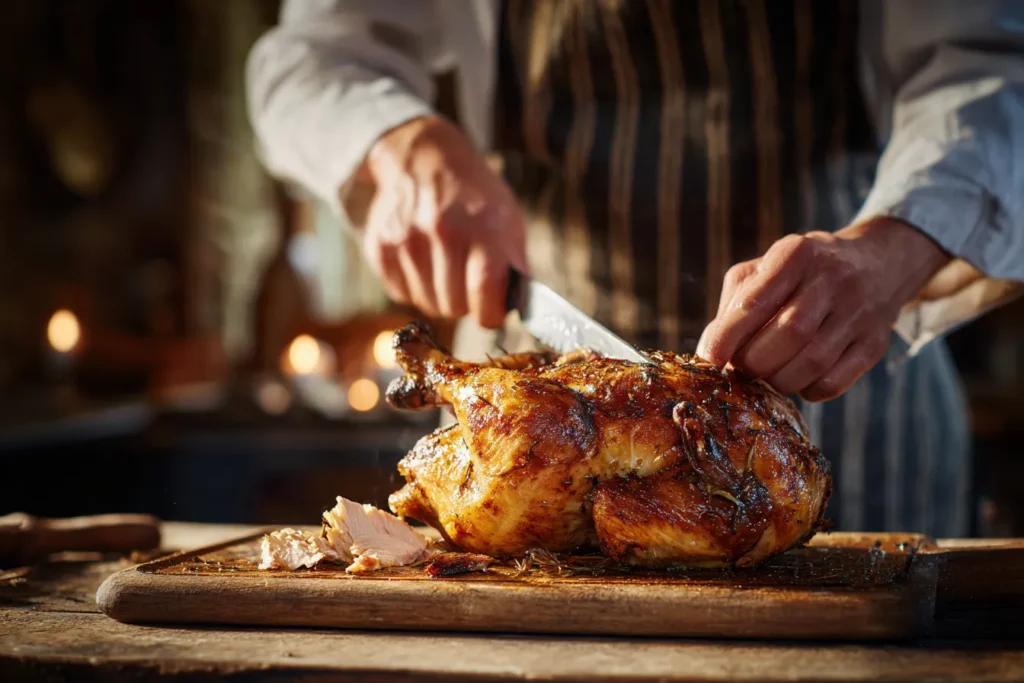
Buying chicken breast after chicken breast can get expensive fast. Chefs know the secret: buy the whole bird. Not only is it cheaper per pound, but it’s also far more versatile. You can roast the whole chicken for Sunday dinner, then use the leftovers in salads, sandwiches, or soups throughout the week.
Breaking down a chicken might sound intimidating, but it’s easier than you think. All it takes is a sharp knife and knowing where the joints are. Once you get the hang of it, you’ll be able to separate thighs, wings, breasts, and drumsticks in minutes. And don’t toss the carcass—boil it with some veggies, and you’ve got homemade stock that tastes miles better than store-bought.
Think of it as stretching your money while also leveling up your cooking skills. It’s one of those small chef tricks that pay off again and again.
Flavor Foundations
Always Use High-Quality Broth
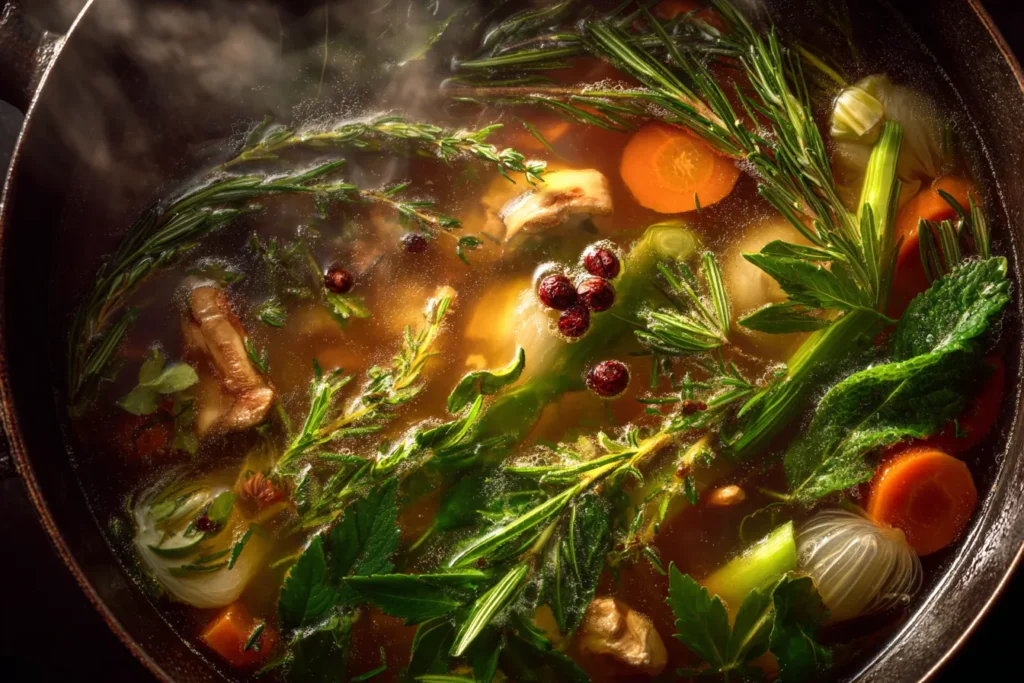
If there’s one ingredient that can make or break a dish, it’s broth. Chefs swear by it because it forms the base of so many recipes—soups, risottos, gravies, braises, sauces, you name it. A good broth adds depth and richness, while a weak one makes food taste flat. Think of broth as the canvas of a painting: if the canvas is poor quality, no amount of color will make the picture beautiful.
The absolute best option? Homemade broth. Toss chicken bones or beef scraps into a pot with onions, carrots, celery, and a few herbs. Let it simmer for hours, and you’ll be rewarded with liquid gold. The flavors are complex, the texture slightly silky, and it adds a chef-level touch to even the simplest soup.
But let’s be real—life is busy, and not everyone has the time to simmer stock every week. In that case, chefs recommend finding a high-quality store-bought broth. Taste it before you use it; if it’s too salty or bland, it’ll ruin your dish. Some brands even sell concentrated bone broth cubes or frozen pouches, which come pretty close to homemade.
Pro tip: keep broth in ice cube trays in your freezer. That way, you can pop one or two cubes into sauces or stir-fries for an instant flavor boost without thawing a whole quart. Once you start cooking with good broth, you’ll never go back to the boxed stuff without checking first.
Save Bones and Vegetable Scraps in the Freezer
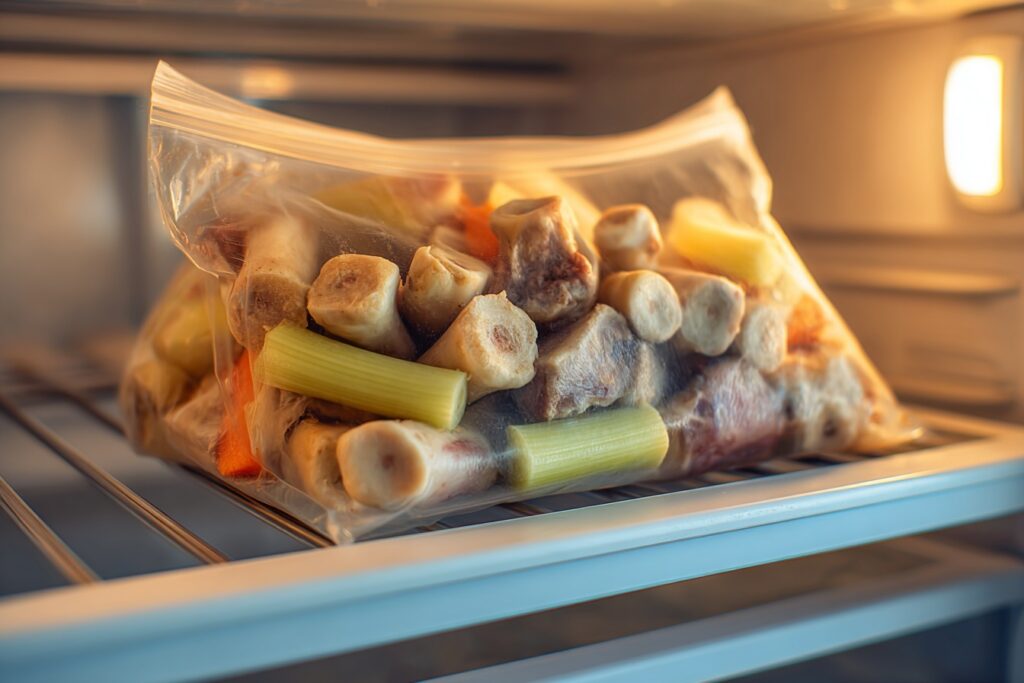
Chefs hate waste—and for good reason. Every scrap of food can be repurposed if you know what to do with it. That’s why many professional kitchens keep big bins of bones and vegetable scraps that eventually become stock. You can do the same thing at home without much effort.
Instead of tossing onion skins, carrot peels, celery tops, and mushroom stems, store them in a freezer bag. Do the same with chicken bones, beef bones, or even shrimp shells. Once the bag is full, toss everything into a stockpot, cover it with water, and simmer. Congratulations, you just made your own broth for free.
Not only does this save money, but it also gives your food more personality. Every batch is slightly different, depending on what scraps you’ve collected. One might have a sweeter note from carrot peels, another a rich earthiness from mushrooms.
Here’s a chef’s bonus tip: always roast your bones first. That caramelization adds deep, complex flavors that simmering alone can’t achieve. And if you’re short on space? Pressure cookers and Instant Pots make stock in a fraction of the time. It’s one of the easiest ways to cook like a pro without spending a dime more.
Recipes Are Just a Guide

If you’ve ever watched a professional chef cook, you’ll notice something—they don’t follow recipes word-for-word. Instead, they use them as guides. A recipe is meant to teach you proportions and methods, not handcuff you to exact steps. Chefs adjust on the fly, tasting constantly and making changes based on what the dish needs.
At home, this mindset is freeing. Hate onions? Skip them. Want extra garlic? Go for it. If the recipe says one teaspoon of chili flakes but you love spice, double it. Cooking should be about creating food that you want to eat, not following instructions like you’re in a lab experiment.
This doesn’t mean you should throw structure out the window—especially with baking, where precision matters (we’ll get to that next). But for savory dishes, think of recipes as training wheels. Once you get the hang of things, you’ll know when to improvise and when to stick to the basics.
Pro tip: taste at every stage. If it needs more salt, acidity, or richness, don’t wait until the end to fix it. Cooking without fear is one of the most important secrets chefs learn early on.
Weigh Ingredients When Baking
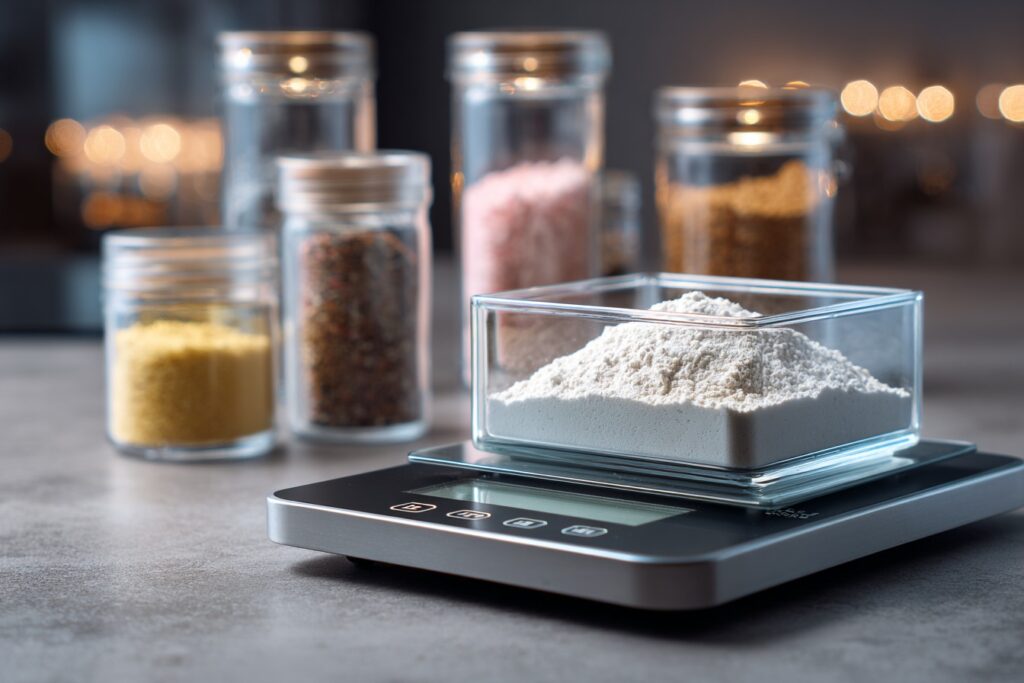
Cooking is art, but baking is science. That’s why chefs always use a scale instead of relying solely on measuring cups. A cup of flour can vary wildly depending on how tightly it’s packed—sometimes by as much as 30 grams. That’s enough to turn soft cookies into dense hockey pucks or fluffy cakes into bricks.
Weighing ingredients eliminates guesswork. Flour should weigh around 120 grams per cup, but if you scoop with a cup instead of spooning and leveling, you might end up with 150 grams. That small difference can ruin the texture. Chefs avoid this by measuring everything—flour, sugar, butter, even eggs if precision is needed.
Scales aren’t just about accuracy—they’re also about efficiency. Instead of dirtying multiple cups and spoons, you can add ingredients directly into the bowl, zeroing the scale as you go. It saves cleanup time and guarantees consistency every time you bake.
If you want your baked goods to taste like they came from a bakery, investing in a digital kitchen scale is one of the smartest chef-inspired purchases you’ll ever make.
Salt Early and Often
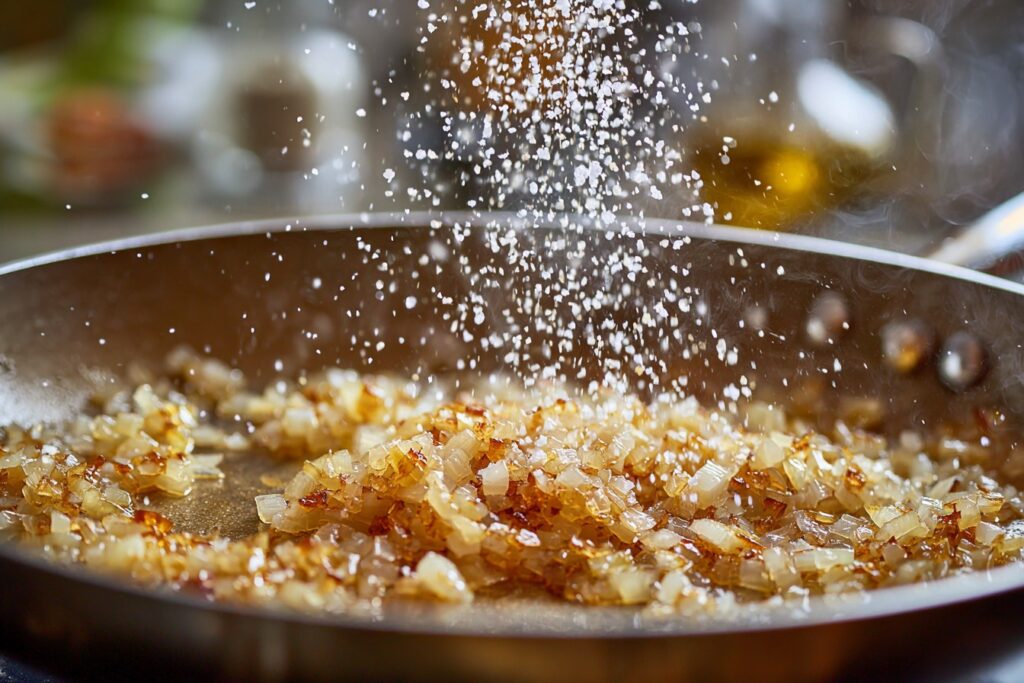
Salt is the backbone of flavor. Without it, food tastes bland and lifeless. But here’s the catch—adding salt only at the end doesn’t season the dish properly. Chefs know that the secret is to salt in layers, adding small amounts throughout the cooking process.
Think about sautéing onions. A pinch of salt helps draw out their moisture, allowing them to caramelize better. Seasoning meat before cooking helps the salt penetrate, making it flavorful all the way through, not just on the surface. Adding a little salt after deglazing a pan ensures the sauce has depth instead of tasting one-dimensional.
This doesn’t mean dumping in handfuls of salt—it’s about small, thoughtful additions that build flavor gradually. By the time your dish is finished, you’ll have multiple layers of seasoning that taste balanced and complex.
Chefs also play with different types of salt. Kosher salt is the kitchen workhorse—it’s easy to pinch and control. Sea salt adds briny complexity, while finishing salts like flaky Maldon provide crunch and elegance. Once you start salting like a chef, you’ll notice your food tasting more alive, even without changing the recipe.
Building Layers of Taste
Toast Dry Spices Before Using Them
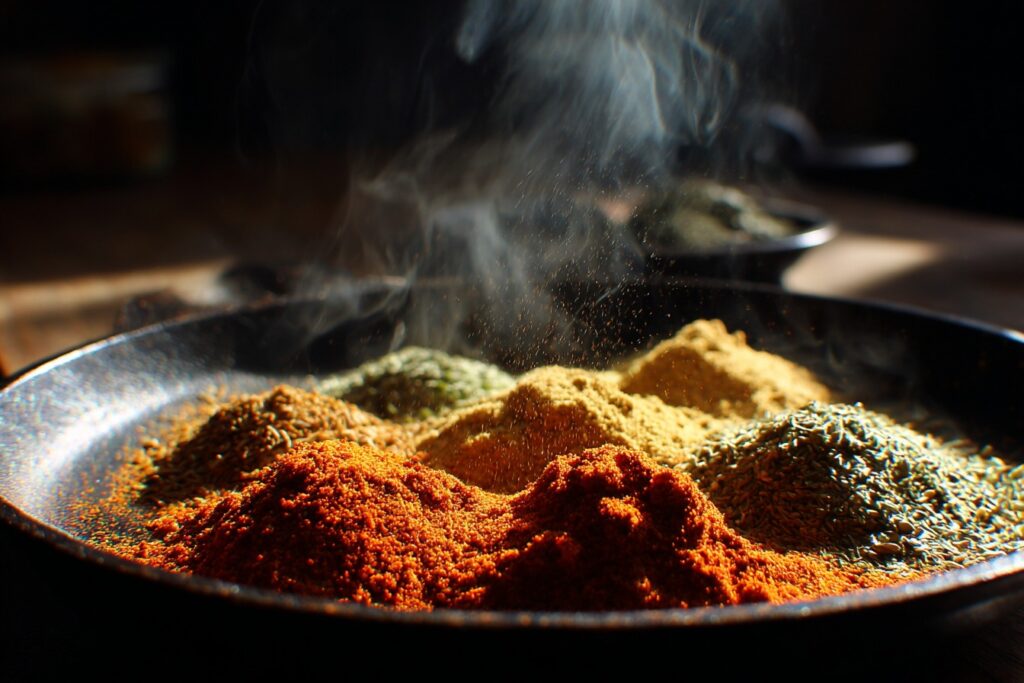
Dried spices are kitchen powerhouses, but most people don’t unlock their full potential. Chefs know that the flavor of spices lives in their essential oils, and those oils need a little coaxing to shine. That’s where toasting comes in. Gently heating spices in a dry pan before using them intensifies their aroma and makes their flavors bolder, rounder, and more complex.
For whole spices like cumin seeds, coriander, fennel, or mustard seeds, toast them until fragrant—usually just a minute or two. Once cooled, grind them for a spice blend that tastes fresher and more vibrant than anything store-bought. For ground spices, add them early in the cooking process. For example, toss curry powder or paprika into the hot oil with onions before deglazing. That short exposure to heat blooms the spices and prevents them from tasting raw or chalky.
The difference is subtle but powerful. Think of it like roasting nuts—eating them raw is fine, but once they’re toasted, their flavor transforms. This one tiny step separates average home cooking from restaurant-level flavor.
Add Fresh Herbs at the End
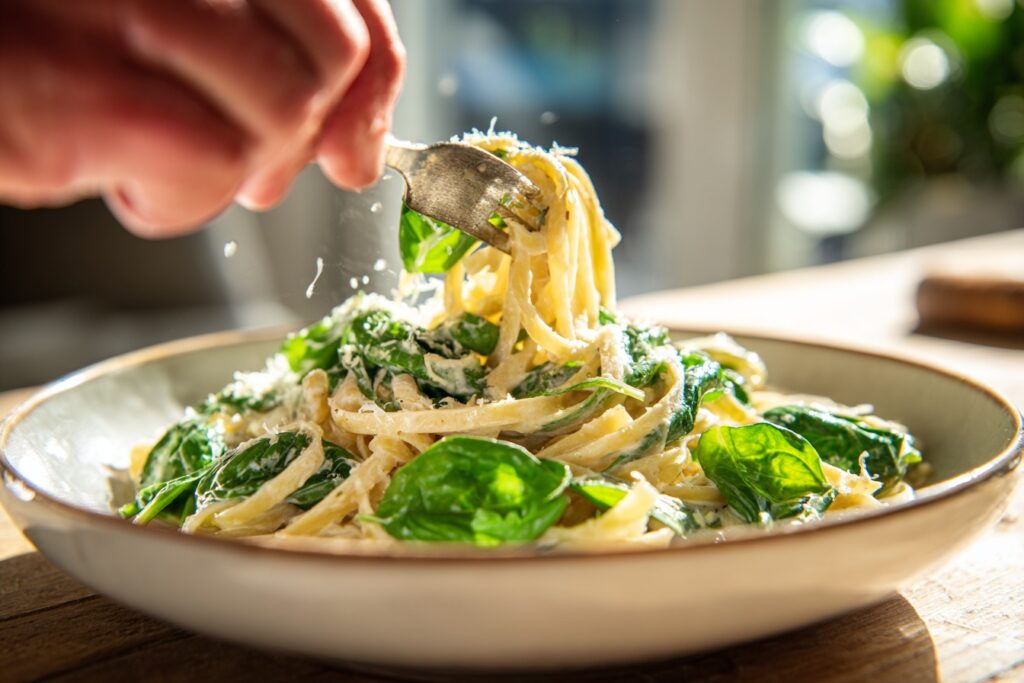
While dried spices benefit from longer cooking, fresh herbs are delicate. Add them too early, and their flavor dulls or disappears completely. Chefs understand that herbs like parsley, cilantro, basil, and chives are best used as finishing touches. Toss them into pasta just before serving, sprinkle them over roasted chicken, or stir them into soup right before ladling it into bowls.
This doesn’t mean herbs can never withstand heat. Sturdier ones like rosemary, sage, and thyme hold up well during longer cooking times, releasing flavor gradually. But the softer, leafy herbs need minimal exposure. Adding them at the end gives dishes a burst of freshness that makes flavors pop.
One simple chef move: finish a rich stew or creamy pasta with a sprinkle of fresh herbs. The brightness cuts through heavy flavors, balancing the dish perfectly. It’s like adding a squeeze of lemon—it lifts everything up.
Sauce Is Super Important
Ask any chef what separates restaurant food from home cooking, and many will say: the sauce. A good sauce isn’t just an afterthought—it’s the element that ties everything together. It can add richness to a plain protein, balance acidity, or mask imperfections in a dish.
Classically trained chefs learn the “five mother sauces” of French cooking—béchamel, velouté, espagnole, hollandaise, and tomato. From these, countless other sauces can be created. But you don’t have to master French cuisine to use this secret. Even a simple pan sauce made by deglazing meat drippings with wine or broth can turn a plain chicken breast into something restaurant-worthy.
Want to impress without much effort? Try making compound butter (butter mixed with herbs, garlic, or spices) and melt it over steak, fish, or vegetables. Or whisk up a quick vinaigrette for roasted veggies. Once you learn how to balance fat, acid, and seasoning in sauces, you’ll never look at dinner the same way again.
Deglaze Every Pan
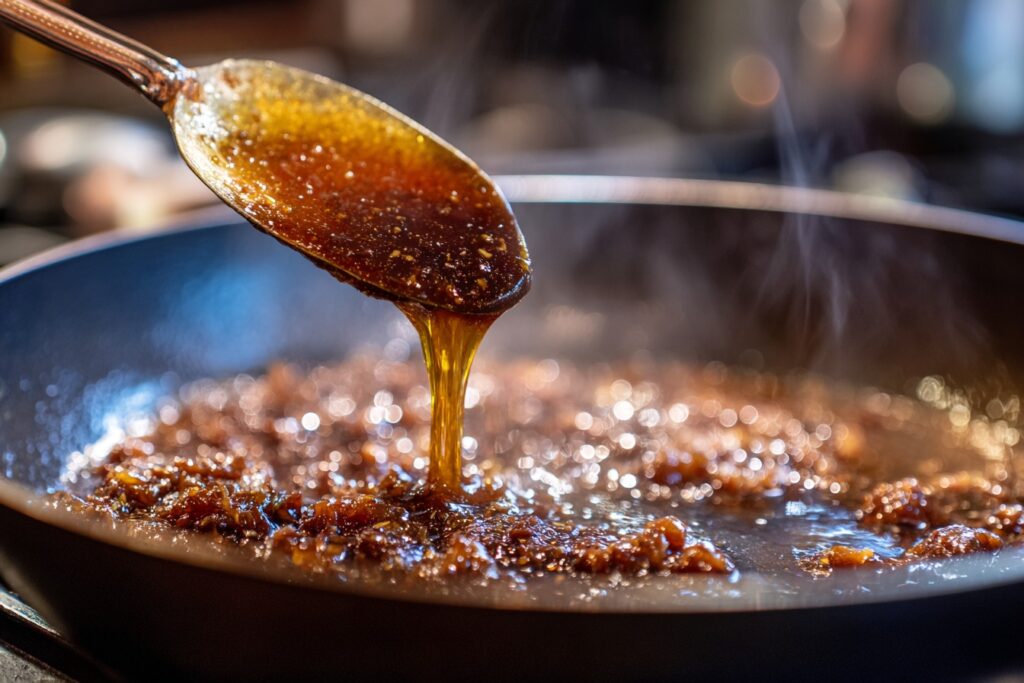
Here’s a little secret: those brown bits stuck to your pan after searing meat or vegetables? That’s pure flavor. Chefs call it “fond,” and it’s the foundation of many restaurant-quality sauces. Instead of scrubbing it away, they deglaze the pan.
Deglazing is simple: pour in liquid—wine, broth, vinegar, even water—and scrape up the fond with a wooden spoon. The liquid loosens the caramelized bits and absorbs their flavor, creating a base for sauce. Add a knob of butter, a splash of cream, or some fresh herbs, and suddenly you’ve got a silky, flavorful sauce to pour over your dish.
This trick works with almost anything you cook. Roast vegetables? Deglaze with lemon juice. Sear chicken? Deglaze with white wine and garlic. Cook steak? Deglaze with red wine or brandy. It’s quick, easy, and one of the fastest ways to make home-cooked meals taste like they came from a restaurant.
Myths, Hacks, and Insider Tips
Alcohol Doesn’t Fully Burn Off When Cooking
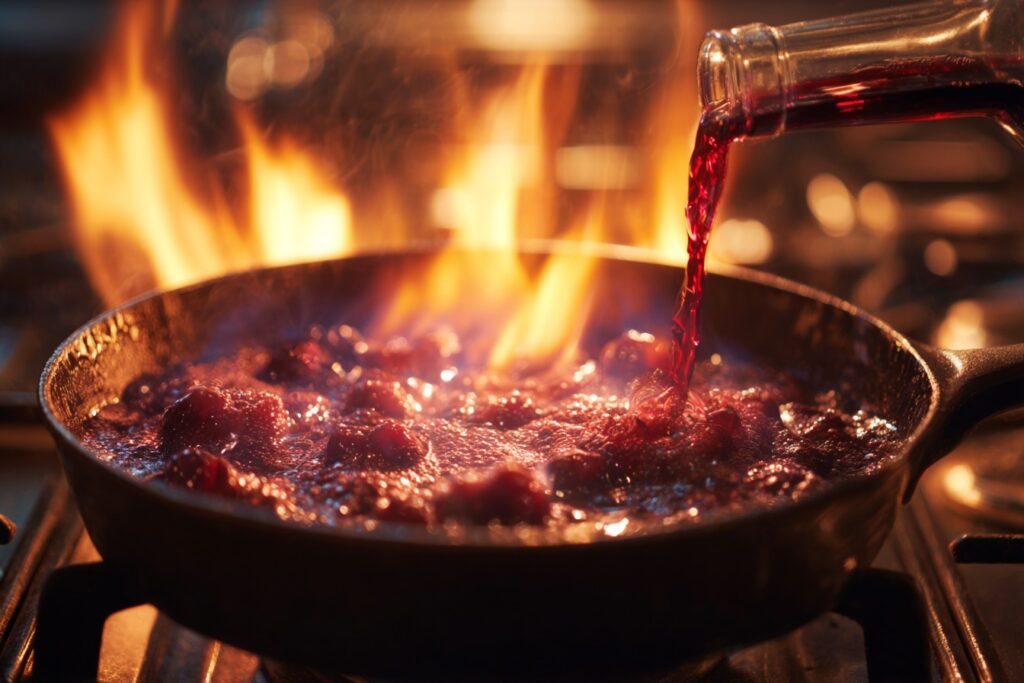
One of the most common cooking myths is that alcohol “burns off” completely during cooking. Chefs know that’s not true. While heat reduces alcohol content, it doesn’t eliminate it entirely—at least not quickly. In fact, simmering a dish for 15 minutes still leaves around 40% of the alcohol. To remove almost all of it, you’d need to cook for hours.
This is important if you’re serving kids, pregnant guests, or anyone avoiding alcohol. If that’s the case, you can swap wine with broth, juice, or even a splash of vinegar for acidity. On the flip side, when alcohol is used intentionally, it adds depth and complexity—red wine in beef stew, white wine in risotto, or brandy in pan sauces.
The takeaway? Be mindful. Alcohol adds flavor, but it doesn’t disappear as quickly as many people think. Chefs use it carefully, knowing how to balance its intensity with other ingredients.
Fat Is Flavor
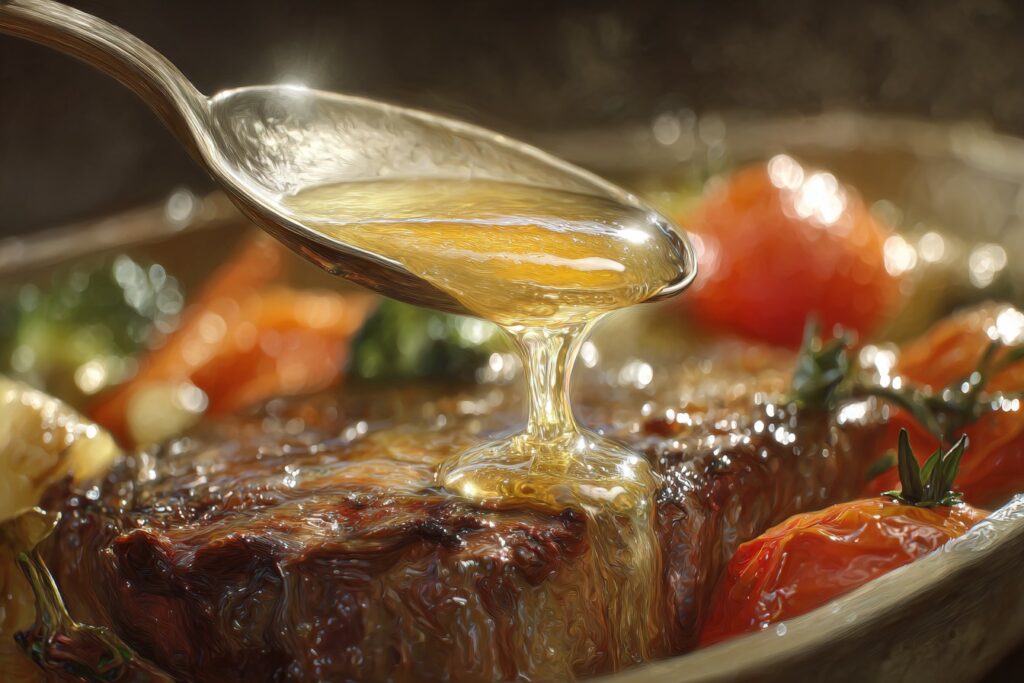
Chefs have a saying: “Fat is flavor.” And it’s true. Fat carries and enhances other flavors, coats your tongue for a richer mouthfeel, and balances acidity and bitterness in food. That’s why low-fat versions of dishes often taste flat or unsatisfying.
This doesn’t mean drowning food in butter or oil. It means using fat strategically. A drizzle of olive oil over roasted vegetables brings out their sweetness. A splash of cream in tomato soup softens acidity. A pat of butter whisked into sauce gives it gloss and richness.
Healthy fats like avocados, nuts, and olive oil are great options, but even “indulgent” fats like butter, cheese, and cream have their place in moderation. Chefs know that fat isn’t the enemy—it’s one of the building blocks of delicious food.
Finish sauces with a swirl of butter
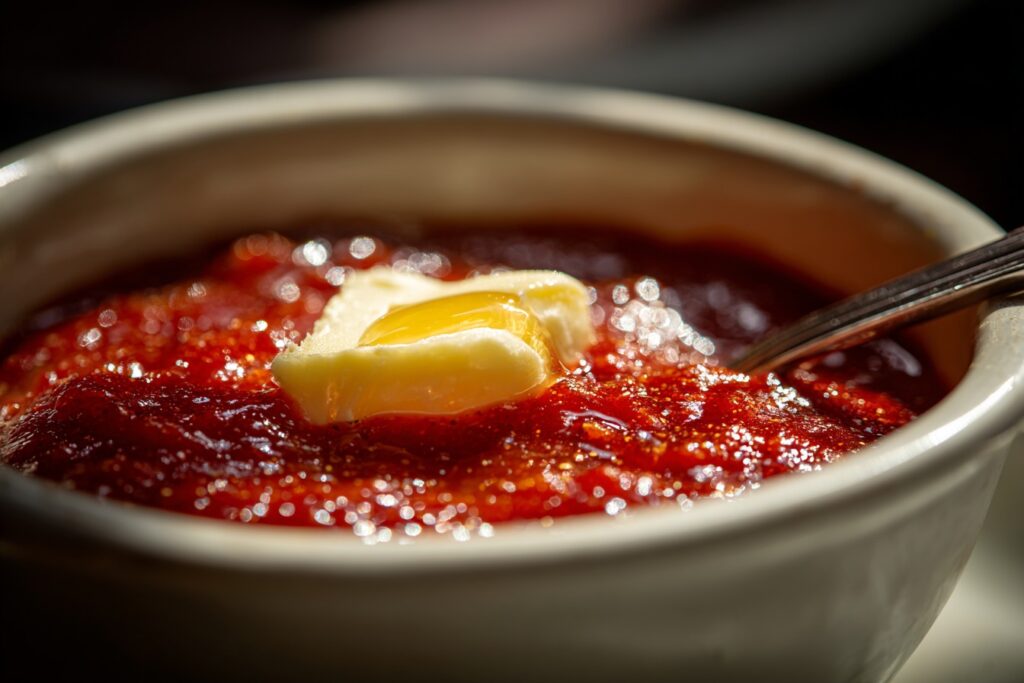
This is one of my favorite restaurant secrets: If you want a tomato sauce to taste richer and have a glossy sheen, swirl in a pat of cold butter right before you serve the sauce. In classical French cooking, this is called moneter au beurre. It’s the easiest way to amp up the flavor of a sauce with little to no effort.
Brighten up your food with a splash of vinegar
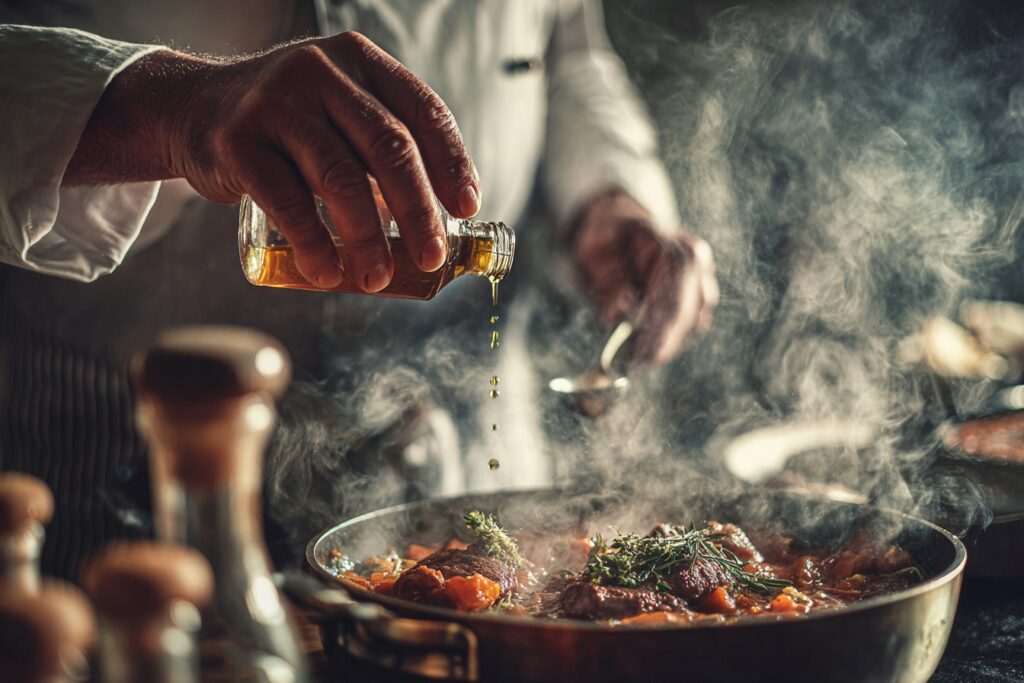
You should always taste your food as you cook. If it tastes dull or lifeless, and don’t be afraid to add an odd ingredient to brighten things up: vinegar. The strong acidic taste of vinegar brings other flavors to life and adds a slightly sweet, mildly fruity flavor to the dish.
You can almost always fix a dish
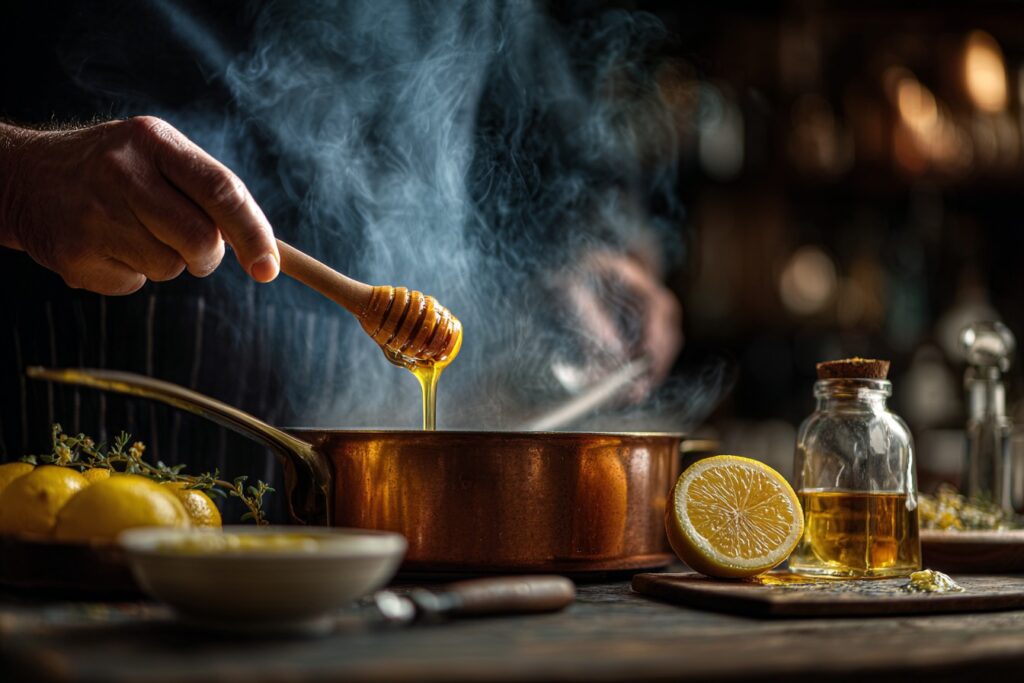
Sometimes, a dish doesn’t turn out the way we thought it would, but you can usually balance out the flavors if they haven’t gone too far off the edge. Fix an over-salted dish by adding a sweet ingredient like honey or sugar. If it’s too fatty and rich, add a splash of vinegar or citrus juice.
Make ingredient swaps
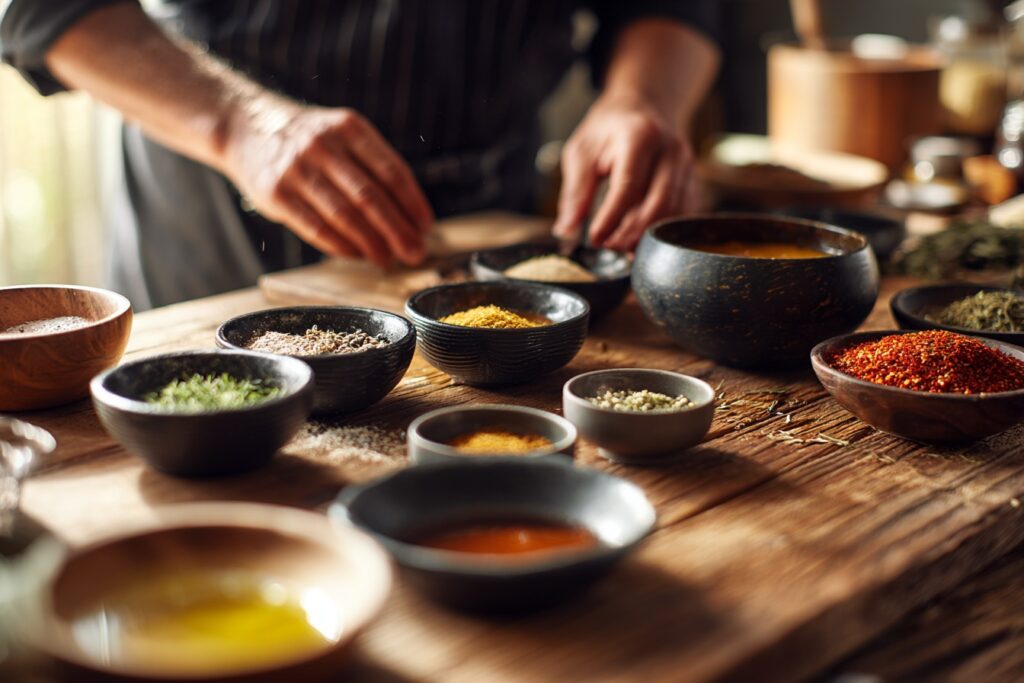
If your recipe calls for an ingredient you don’t have on hand, you can usually find a decent substitution. Think about the flavor profile of the original ingredient and look for something that adds the same sweet, salty, spicy, savory, tart, acidic or bitter flavor. And if you’re missing an ingredient to thicken up a sauce, we came up with seven ways to make it happen
Sometimes, the leftovers taste better
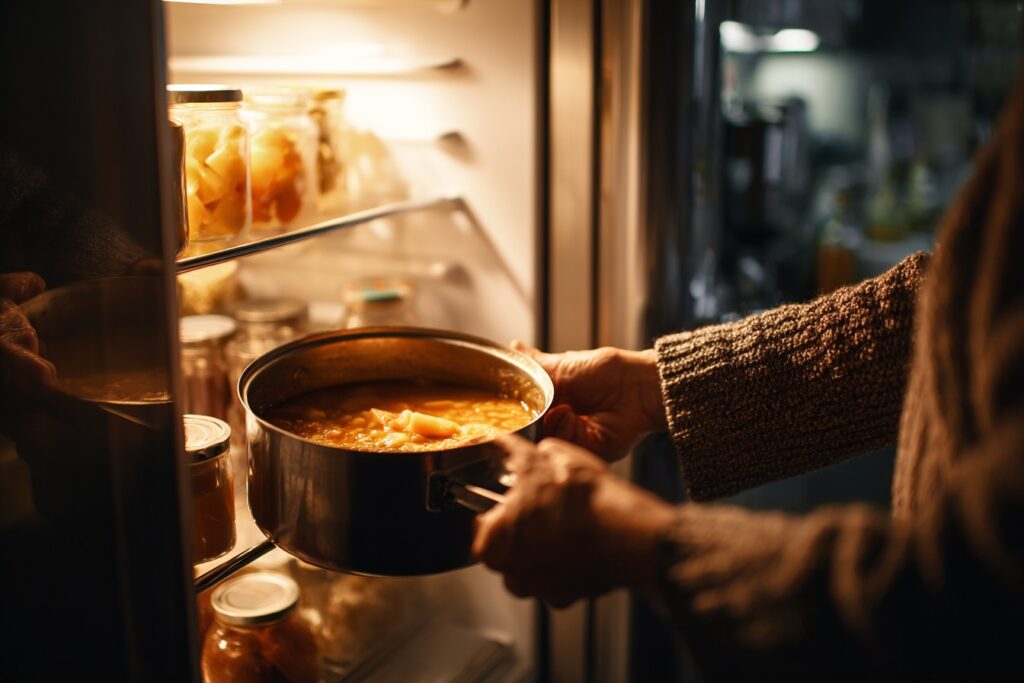
If you’re making soups, stews and sauces, you may want to consider making them the day before. As the food cools and rests in the refrigerator, the ingredients get a chance to come together and meld, making them more savory and rich-tasting the next day.
Never dress a salad in advance
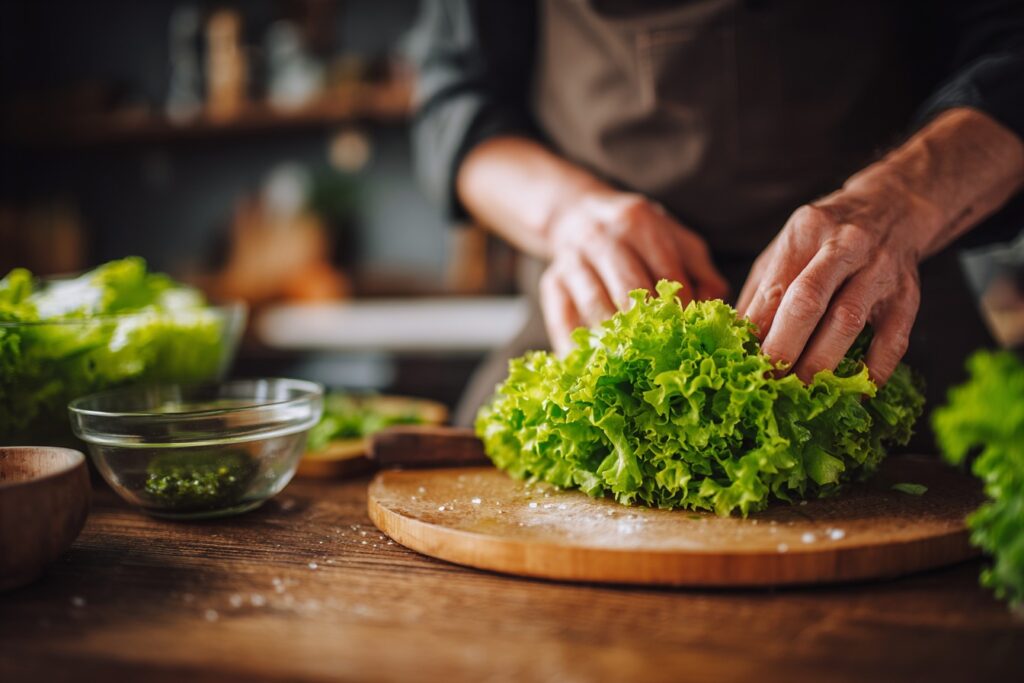
Many foods can be made in advance, but salad isn’t one of them. The acidic components of the dressing break down the tender lettuces, making everything a little soggy. Go for it with pasta- and potato-based salads, but wait to toss lettuce-based salads until the very last second.
A brine can make all the difference
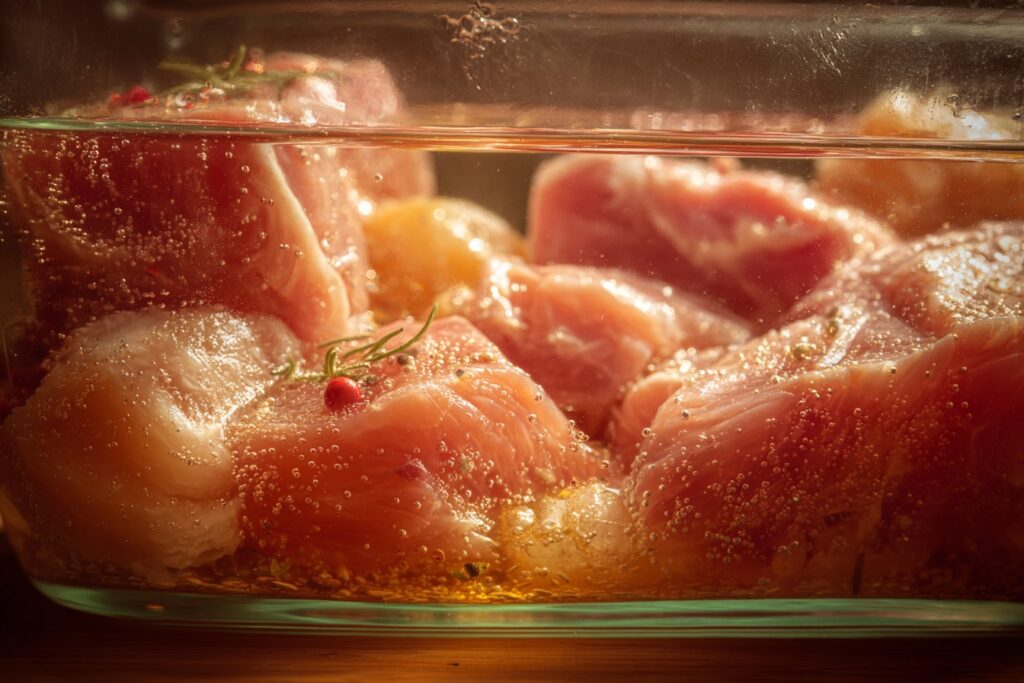
Lean meats, like chicken and pork chops, really benefit from a brine. The salty solution not only tenderizes tough muscle fibers, but it also denatures the proteins and allows them to retain more moisture as they cook. The meat will taste juicier and it won’t turn out dry.
Texture & Technique
Don’t Overcrowd the Pan
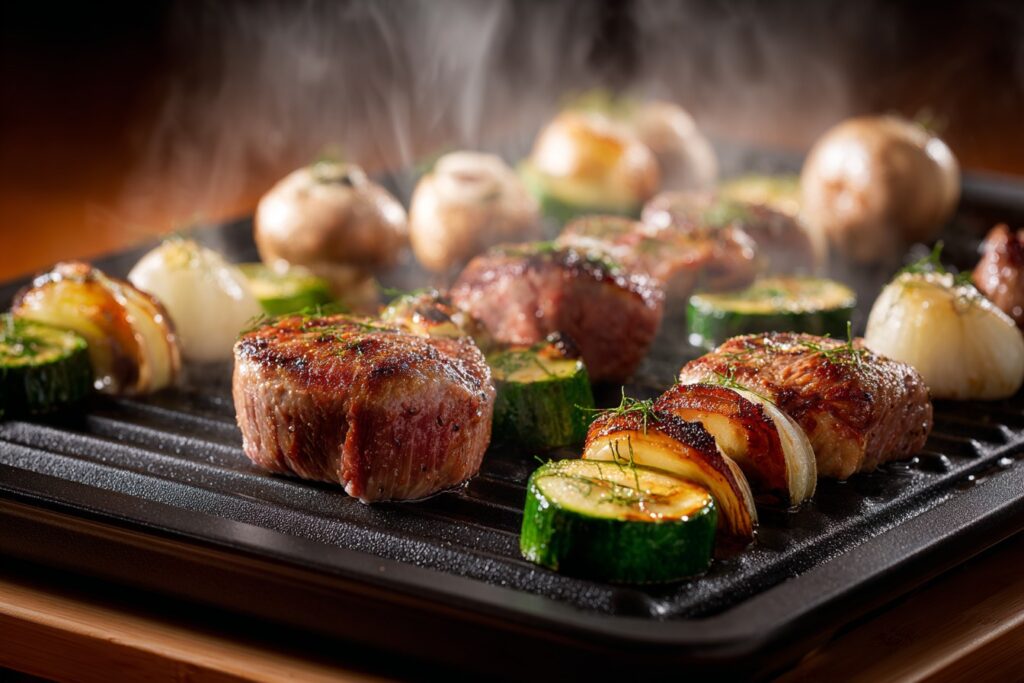
If you’ve ever wondered why your sautéed vegetables turned mushy instead of golden and crisp, chances are you overcrowded the pan. Chefs know this is one of the most common mistakes home cooks make. When too much food is crammed into a pan, steam gets trapped, and instead of browning, everything just steams.
Browning is where the magic happens—it’s called the Maillard reaction, the chemical process that creates those delicious, savory flavors when proteins and sugars caramelize. To get it, food needs direct contact with the hot pan and space for moisture to evaporate. Overcrowding prevents that.
The solution? Cook in batches. It might feel slower, but the results are worth it. Vegetables get crisp edges, chicken skin becomes golden and crackly, and steak develops that perfect crust. Once browned, you can combine everything back together for finishing.
Think of your pan as real estate—each piece of food deserves its own space. Chefs treat their pans like a stage, making sure every ingredient gets its moment in the spotlight.
Let Meat Rest After Cooking
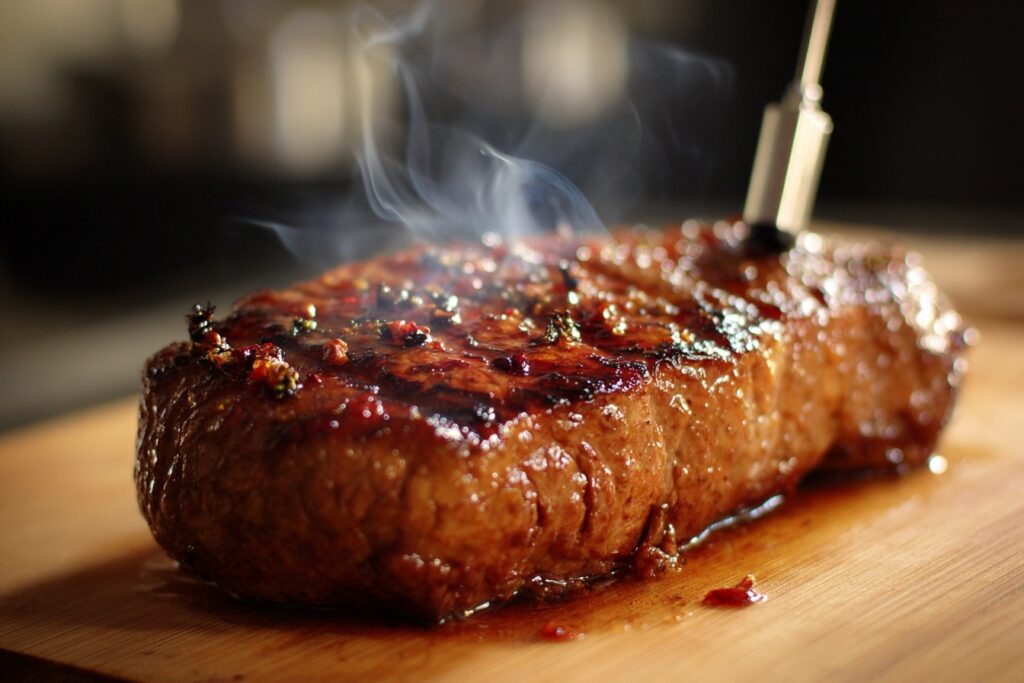
Patience might be the hardest part of cooking, especially when a juicy steak or roast comes out of the oven. But chefs know that letting meat rest is crucial. Cutting into it too soon means losing all those flavorful juices you worked so hard to create.
Here’s why: when meat cooks, the juices move toward the center. If you slice it immediately, they spill out onto the cutting board. Resting allows the juices to redistribute evenly throughout the meat, so every bite is tender and moist.
As a rule of thumb, let small cuts (like chicken breasts or steaks) rest for 5–10 minutes, and larger roasts for 15–30 minutes. Tent them loosely with foil to keep warm but avoid covering too tightly, which can trap steam and ruin the crust.
It’s a small step that makes a huge difference. Chefs know that presentation isn’t just about looks—it’s about that first, flavorful bite bursting with juiciness.
Acid Makes Everything Pop
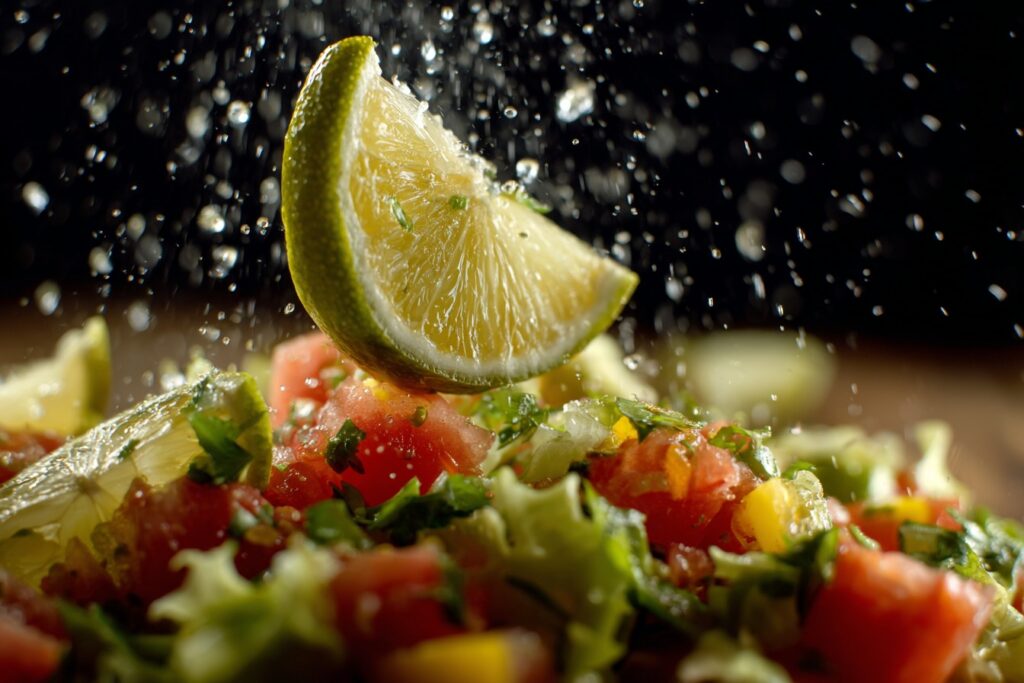
If you’ve ever eaten a dish that tasted “flat,” chances are it wasn’t missing salt—it was missing acid. Chefs understand the power of acidity in balancing flavors. Just a splash of lemon juice, a drizzle of vinegar, or even a few chopped tomatoes can transform a heavy dish into something bright and lively.
Acid works like a spotlight, sharpening and enhancing other flavors. It cuts through fat, balances sweetness, and adds freshness. That’s why vinaigrettes work so well, why barbecue sauce has tang, and why squeezing lemon on fish makes it taste cleaner.
The trick is knowing when to add it. Sometimes it’s early in cooking, like simmering a stew with wine. Other times, it’s right at the end, like finishing a soup with a splash of vinegar. Chefs often taste a dish and, instead of adding more salt, they add acid—it’s the “secret ingredient” that most home cooks forget.
Next time your food tastes bland, don’t reach for the salt shaker first. Try a squeeze of lemon or a splash of vinegar—you’ll be amazed at how it wakes everything up.
Always Taste While Cooking
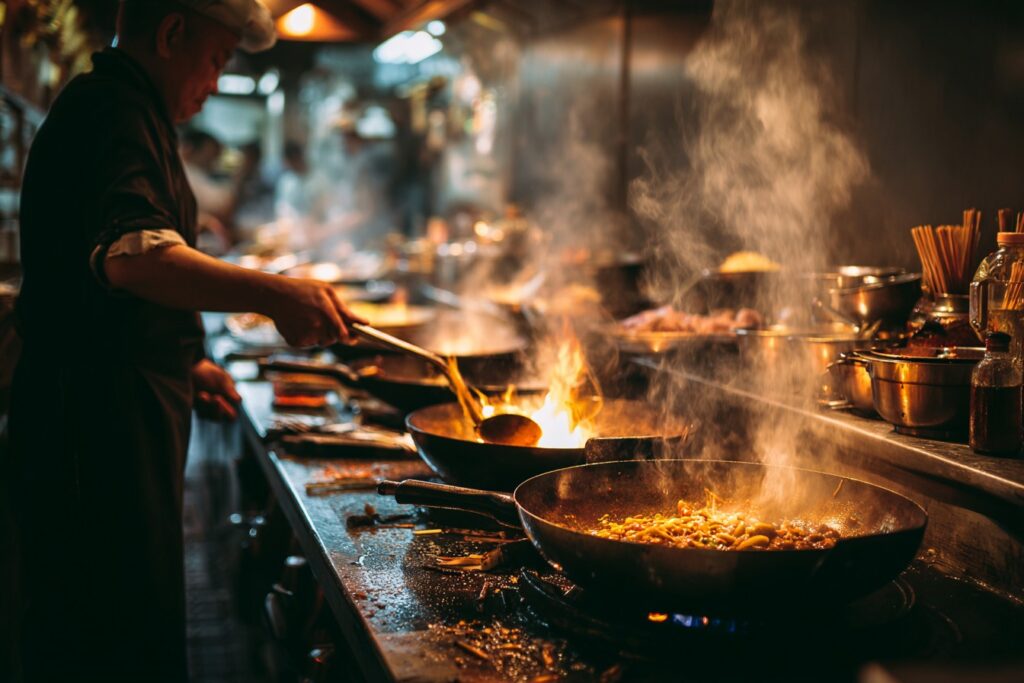
Chefs don’t wait until the end of cooking to check if something tastes right—they taste constantly. This ongoing adjustment is what makes restaurant food so balanced. Think of it like editing a draft—you wouldn’t hand in an essay without rereading it; why serve food without tasting it?
Tasting along the way helps you notice if a dish needs more salt, acid, fat, or spice before it’s too late. It also helps you avoid disasters, like over-seasoned soup or undercooked pasta. Chefs adjust gradually, building flavor layer by layer instead of trying to “fix” it all at once.
Here’s a tip: keep a stack of spoons nearby when cooking. Taste, adjust, toss the spoon in the sink, repeat. It might seem small, but it’s one of the most important habits to develop if you want to cook like a chef.
Remember, recipes are guidelines, not guarantees. Your ingredients, stove, and even your palate are unique. Only your taste buds can tell you when a dish is truly done.
Kitchen Habits That Make the Difference
The Oven Door Rule

Chefs have a rule when it comes to baking and roasting: don’t constantly open the oven door. Every time you peek, you let out precious heat, and your dish has to work harder to cook evenly. A cake may collapse, cookies may flatten, and roasts may dry out—all because of too much curiosity.
Instead, trust the process. Use the oven light and glass window if you have one. Set timers and rely on visual cues only when necessary. If you must check, open quickly and shut the door right away.
Chefs also rotate pans instead of moving food around constantly. This ensures even browning without disrupting the oven environment. For meats, use a thermometer instead of guessing. That way, you don’t need to poke, prod, or keep slicing into the roast to “check.”
Patience is key here. Ovens are designed to work consistently, but only if you let them. Respect the oven door rule, and your baking success rate will skyrocket.
Presentation Matters
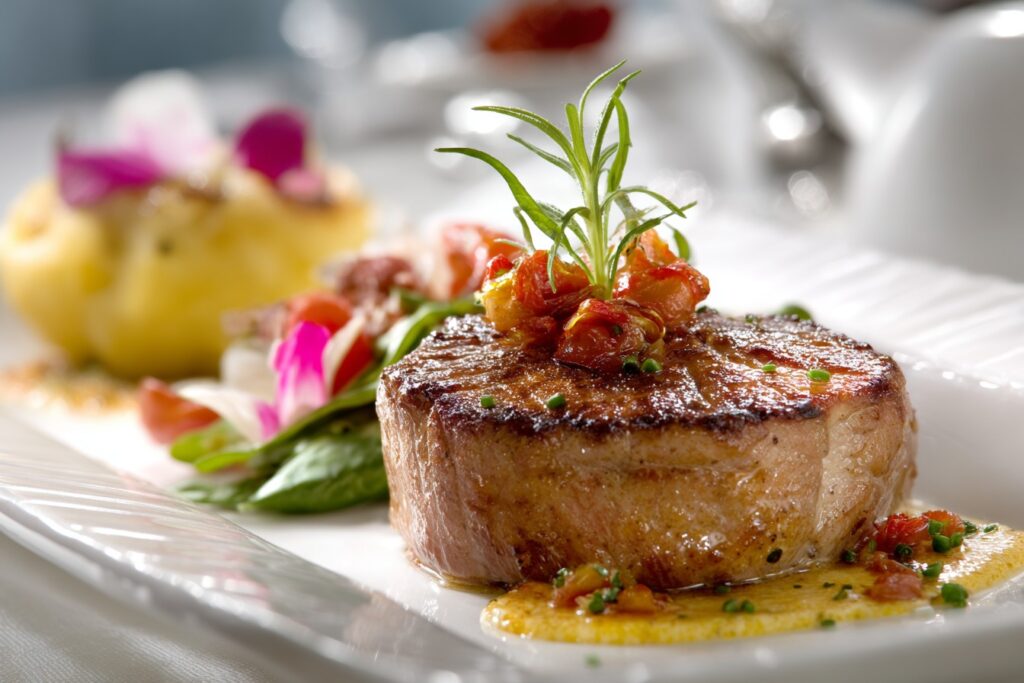
Here’s a chef secret that has nothing to do with taste but everything to do with perception: people eat with their eyes first. Presentation matters more than most home cooks realize. A beautifully plated dish feels more appetizing—even if it’s the same food served messily.
Chefs pay attention to color, texture, and balance on the plate. They use garnishes not just as decoration but as part of the dish. A sprinkle of herbs, a drizzle of sauce, or a dash of flaky salt can transform the look and feel of a meal.
At home, you don’t need fancy plating techniques. Just think about contrast. Pair bright vegetables with proteins, wipe stray smudges from the plate, and avoid piling food haphazardly. Even something as simple as serving pasta in a wide bowl instead of a flat plate can make it look more intentional.
The effort is worth it. When food looks good, it feels like an experience, not just a meal. And that’s exactly how chefs elevate ordinary cooking into something memorable.
Keep fried chicken juicy by soaking it in buttermilk

Ever wondered why authentic Southern fried chicken is so unbelievably good? The answer lies in one simple step: a long soak in buttermilk. Buttermilk isn’t just a marinade—it’s a magic potion. The natural acids and enzymes gently break down tough proteins, which tenderizes the chicken while locking in moisture. As a bonus, the slight tang of buttermilk adds depth of flavor that plain milk or water can’t provide. When that chicken finally hits the hot oil, the outside crisps beautifully while the inside stays tender and juicy. The result? Fried chicken that crunches on the outside and melts in your mouth inside. If you want to take your chicken game up a notch, season the buttermilk with spices like garlic powder, smoked paprika, or cayenne before marinating. The longer you let it sit—overnight is best—the better your fried chicken will taste.
Expensive steaks aren’t always the best
It’s tempting to think that the best steak is always the priciest cut on the menu—like ribeye, porterhouse, or filet mignon. But here’s the truth chefs know: great flavor doesn’t have to break the bank. Cuts like hanger steak, flat iron, or top sirloin can deliver bold, beefy flavors at a fraction of the cost. These “butcher’s cuts” were once kept off the menu because chefs and butchers took them home for themselves! The trick is learning the right cooking method. Hanger steak, for example, shines when grilled quickly over high heat, while sirloin is versatile enough for pan-searing or broiling. Pair these cuts with a simple marinade or herb butter, and you’ll have a steak dinner that tastes restaurant-worthy—without the restaurant bill.
Some beef cuts aren’t meant for the grill
Brisket, chuck, and round are budget-friendly favorites, but don’t expect them to shine on the grill. These cuts are full of connective tissue, which makes them tough if cooked quickly over high heat. Instead, chefs use low-and-slow methods like braising, smoking, or stewing. Think of brisket smoked for 12 hours until it falls apart, or chuck roast slowly braised in red wine until fork-tender. What happens during this slow process is pure kitchen science: the collagen melts into gelatin, creating that melt-in-your-mouth texture we all crave. So, if you’re planning a backyard barbecue, skip the brisket for the grill and save it for your smoker or Dutch oven.
Always marinate skirt or flank steaks
Cuts like skirt and flank steak are flavorful but notoriously tough. That’s why chefs never skip the marinade. Acidic ingredients like lime juice, vinegar, or even yogurt help break down muscle fibers, making the meat tender. Marinades also act as flavor bombs—adding layers of seasoning before the steak even hits the grill. A good rule of thumb? Marinate for at least four hours, but overnight if you can. When it’s time to cook, grill the steak quickly over high heat and slice it against the grain. Done right, these humble cuts can rival the most expensive steakhouse dinner. Perfect for tacos, fajitas, or simply served with chimichurri.
Put a divot in burgers for even cooking
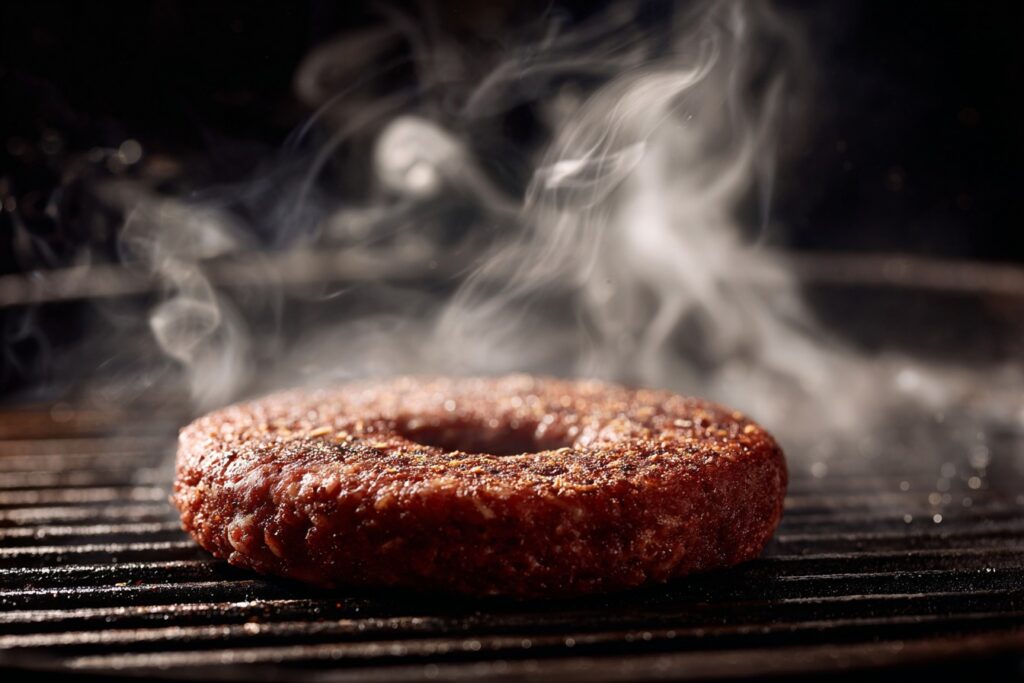
There’s nothing worse than a burger puffing up in the middle, leaving the edges overcooked and the center underdone. The chef’s trick? A little thumbprint. Press a shallow dimple into the center of each raw patty before cooking. On a grill, this simple step ensures even airflow around the burger, helping it cook flat and evenly. If you’re cooking indoors on a skillet, you can even poke a hole straight through the middle—like a doughnut. Don’t worry; the hole disappears as the burger cooks. It’s a small step, but it makes all the difference between a lopsided burger and one that’s juicy, evenly cooked, and picture-perfect.
Use a meat thermometer
Chefs may rely on the “touch test” to gauge doneness—pressing a steak with their finger to feel its firmness—but at home, nothing beats a digital meat thermometer. It’s foolproof. Want a perfectly medium-rare steak? Pull it at 130°F. Juicy chicken? Make sure it hits 165°F. Pork? 145°F and still a little pink is just right. A thermometer takes the guesswork out of cooking and saves you from the heartbreak of overcooked, dry meat. Plus, it gives you the confidence to serve guests knowing your food is cooked safely and to perfection.
You don’t need a deep fryer
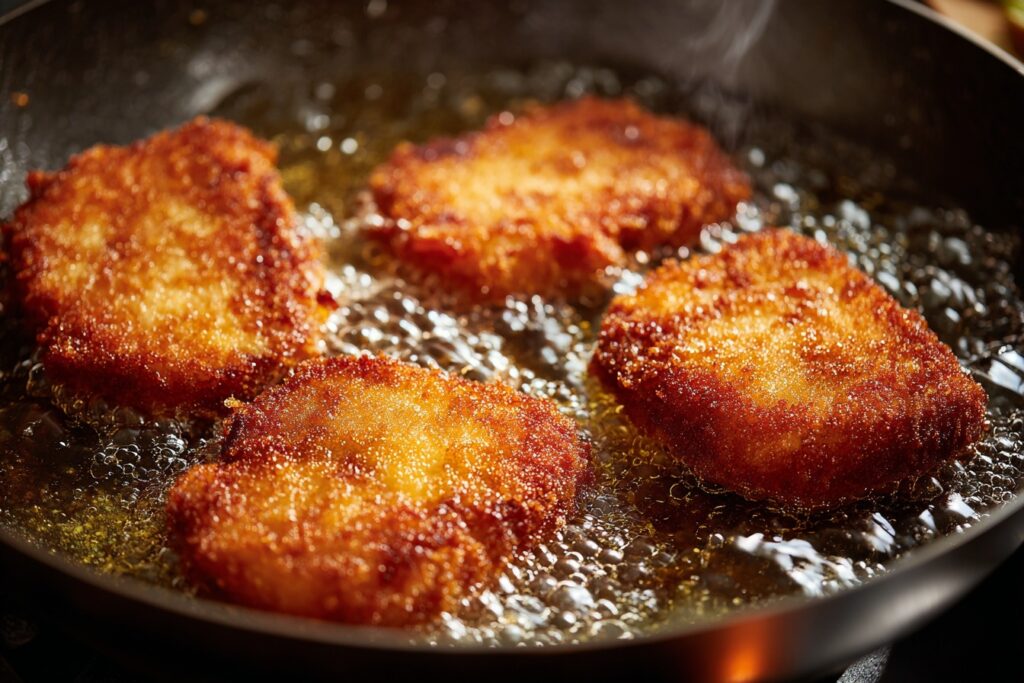
A lot of people think they need a bulky, expensive electric fryer to make crispy fried food at home. But ask any chef, and they’ll tell you the truth: a heavy-duty cast iron Dutch oven works just as well—maybe even better. Cast iron has thick walls that hold heat steady, which is key when you’re frying. Plus, its deep sides keep oil from splattering everywhere. Unlike a countertop fryer, it’s easy to clean and doesn’t take up precious cabinet space. With just a Dutch oven, a good thermometer, and the right oil, you can make restaurant-quality fried chicken, doughnuts, or even tempura. No extra gadgets required.
Keep fried food hot in a low-temperature oven
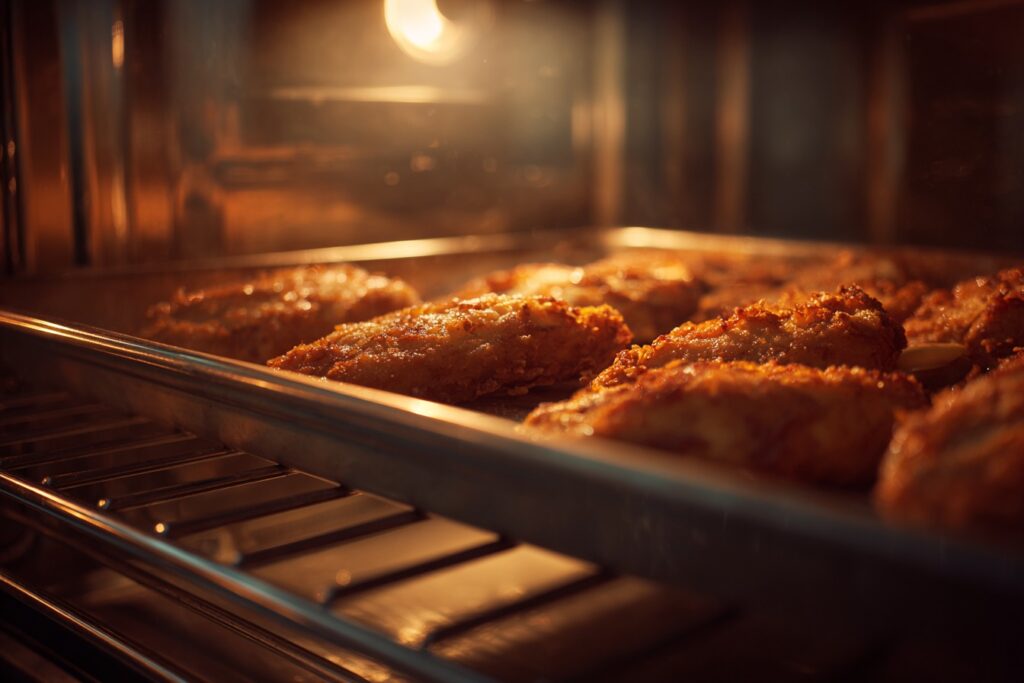
Cooking for a crowd? Here’s the problem: fried foods don’t come out of the oil all at once. Tossing them all in together would drop the oil temperature and ruin everything. So chefs hot-hold batches in a 250°F oven while they keep frying. This trick keeps food crisp without drying it out. And it’s not just for fried foods. Pancakes, waffles, and fritters also benefit from this method. Instead of ending up with soggy stacks, you’ll have a pile of warm, fluffy, just-right bites for everyone at the table.
You may also like to read :
Deep Fried Oreos Recipe
Funnel Cake Fries
Fried Cheesecake
Line baking sheets with oven-safe cooling racks
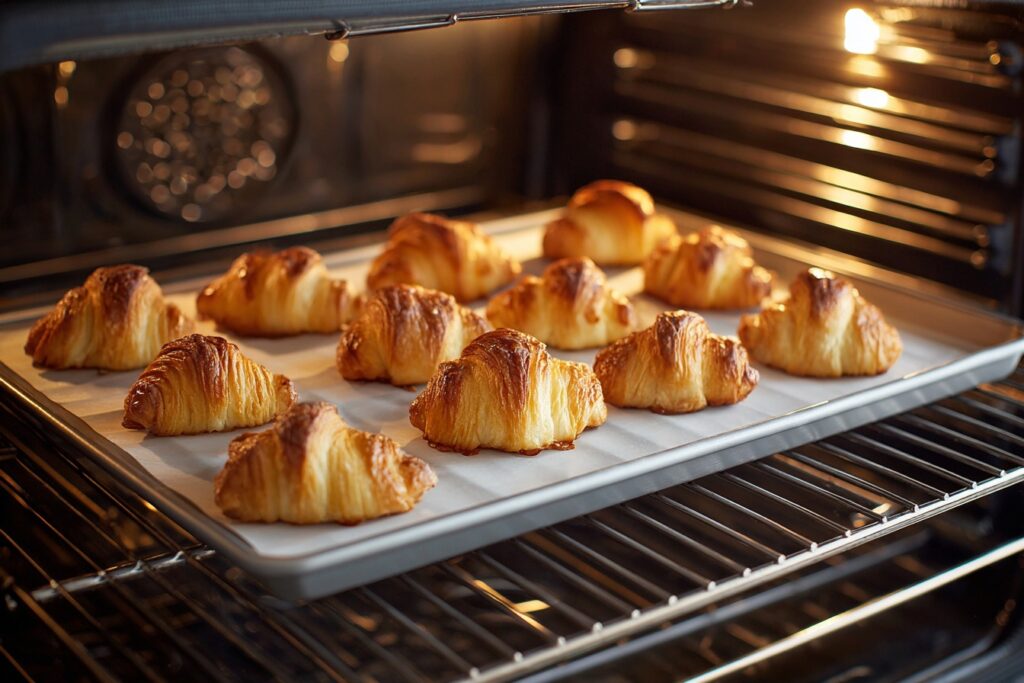
Ever wonder why restaurant bacon turns out perfectly crisp while yours ends up limp? The secret is airflow. When chefs bake bacon—or keep fried food warm—they use a baking sheet topped with a wire cooling rack. The rack elevates the food, so air circulates around it, preventing soggy bottoms. It’s also a lifesaver when roasting vegetables or reheating leftovers. Instead of steaming on the pan, food stays crisp, evenly cooked, and golden all over. It’s such a simple trick, but once you start, you’ll never go back to flat baking sheets alone.
Some foods just taste better with butter
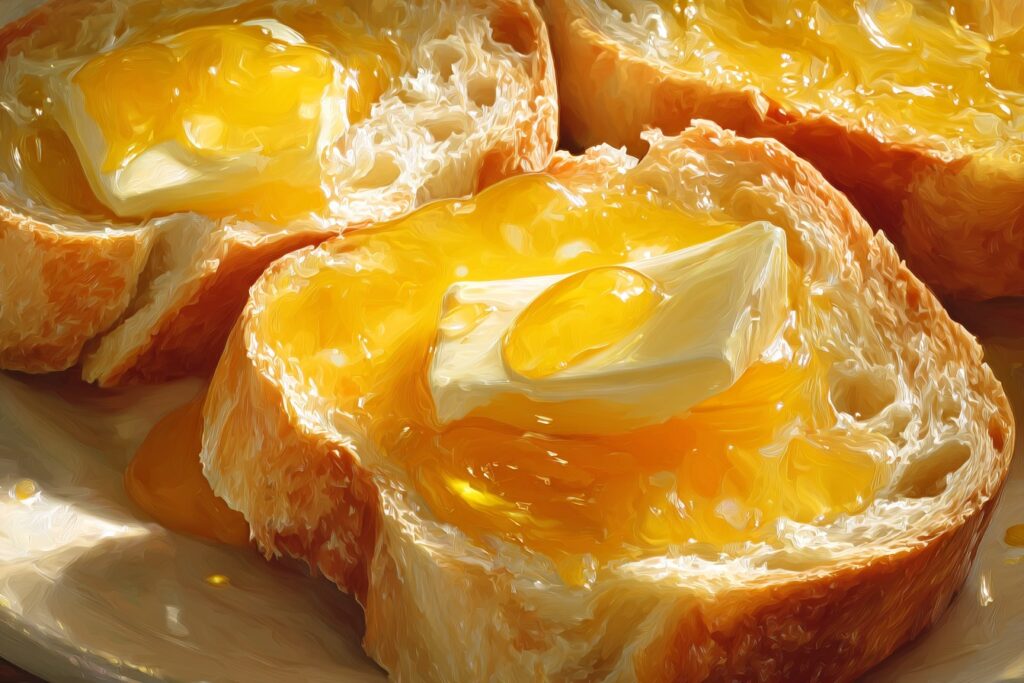
Butter may not be the healthiest ingredient in the kitchen, but chefs know it’s one of the most delicious. Unlike neutral oils, butter has a nutty, rich flavor that transforms dishes. It’s the reason pastries, cookies, and cakes taste so irresistible. It’s also the finishing touch for steaks, mashed potatoes, and pan sauces. That being said, butter has a low smoke point, so it’s not ideal for high-heat frying. Instead, chefs use it strategically—like browning it for sauces or melting it over cooked vegetables for a glossy, flavorful finish. Think of butter as a flavor enhancer, not just fat.
you may also read : 5 Reasons You’ll Love This Apple Pecan Cake with Caramel Glaze
Don’t rinse pasta after cooking
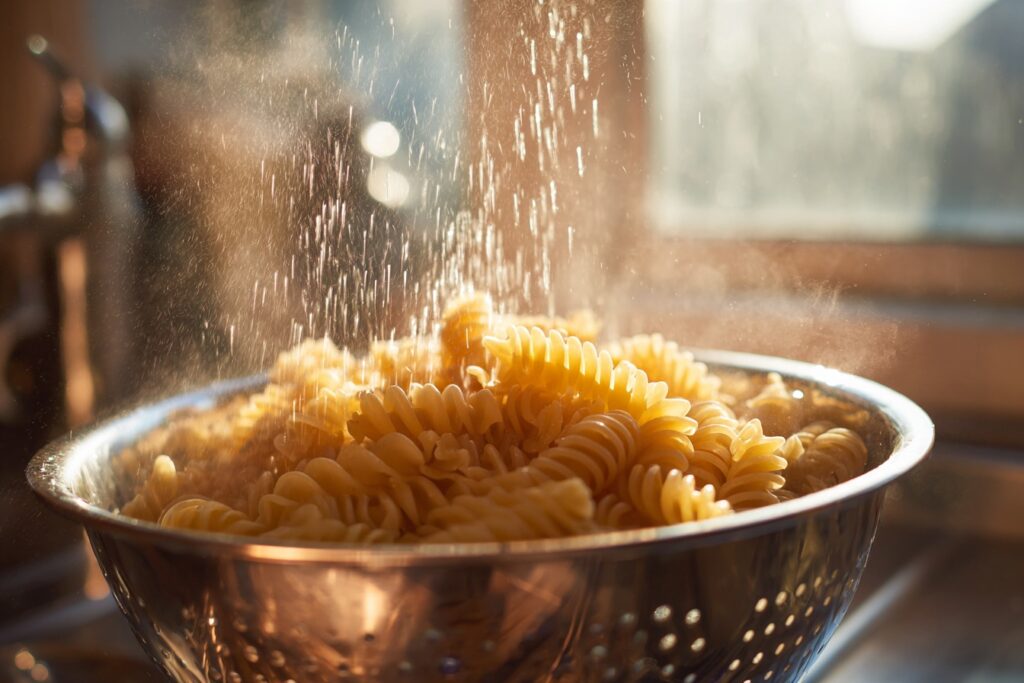
Unless you’re making pasta salad, step away from the sink. Rinsing pasta washes away the starchy coating that helps sauces stick. Chefs want that starch—it’s what makes a silky carbonara or perfectly coated marinara. In fact, many professionals save a scoop of pasta water to mix into the sauce. That starchy water helps the sauce cling to the noodles, turning a basic dish into something restaurant-worthy. So next time you cook spaghetti, skip the rinse and let that starch work its magic.
Try indirect heat on the grill
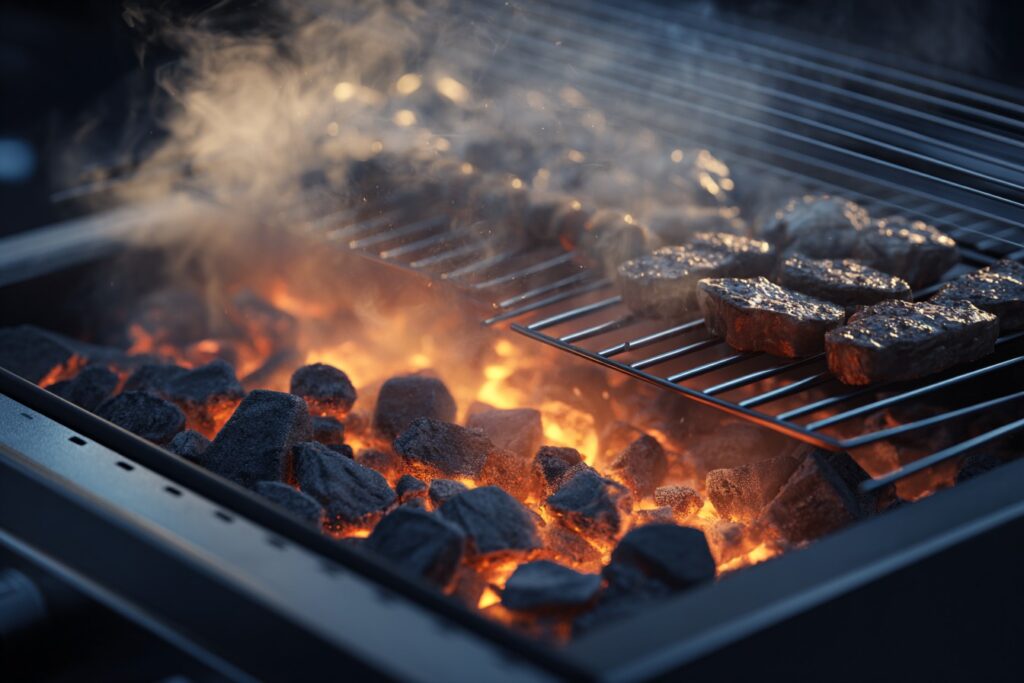
Grilling isn’t just about fire and flames. Chefs use a method called indirect grilling to cook thicker cuts of meat without burning them. On a gas grill, that means turning on one side and placing the food on the other. On charcoal, it means piling coals to one side and leaving the other clear. The indirect heat acts like an oven, cooking food evenly without scorching. It’s perfect for whole chickens, ribs, or thick-cut steaks. Once the inside is cooked, you can move it directly over the flame for a quick char. The result? Juicy, smoky meat with the perfect sear.
Clean your grill with an onion
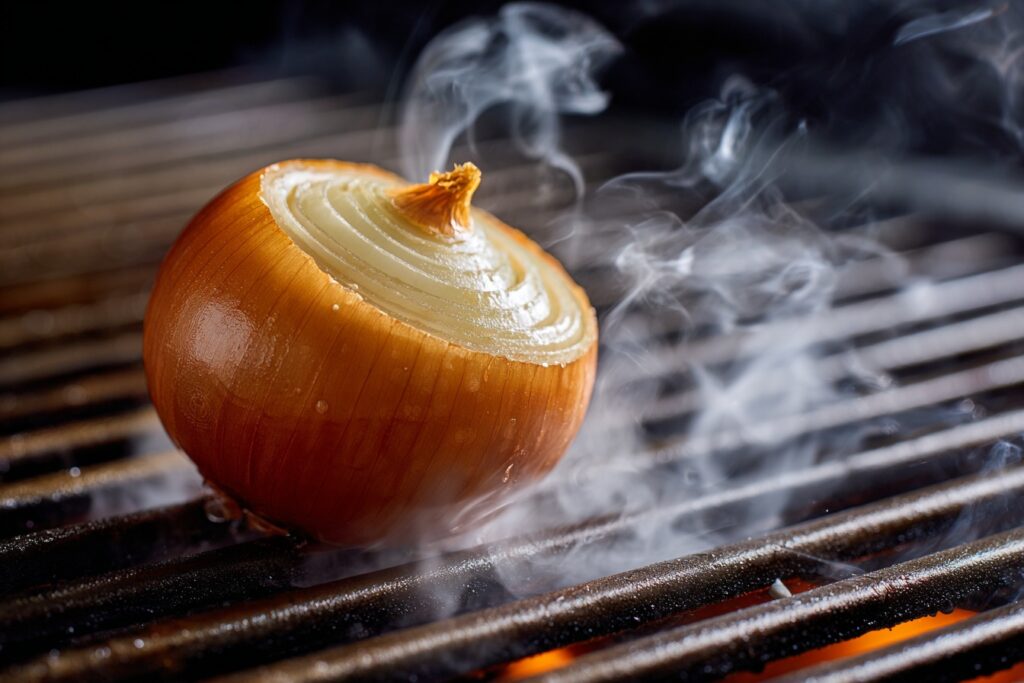
Forget harsh chemicals and dangerous wire brushes that can leave bristles behind. Chefs use a surprisingly simple trick: a halved onion. When rubbed on a hot grill grate, the onion’s natural enzymes break down charred bits and grease. Plus, the steam from the onion helps loosen stuck-on food while leaving behind a subtle, savory aroma. It’s a natural, safe, and cheap way to keep your grill clean. And let’s be honest—it feels pretty satisfying, too.
You may like to read this : Mouthwatering Onion Boil Recipe Everyone’s Raving About!
Roast vegetables in a high-temperature oven
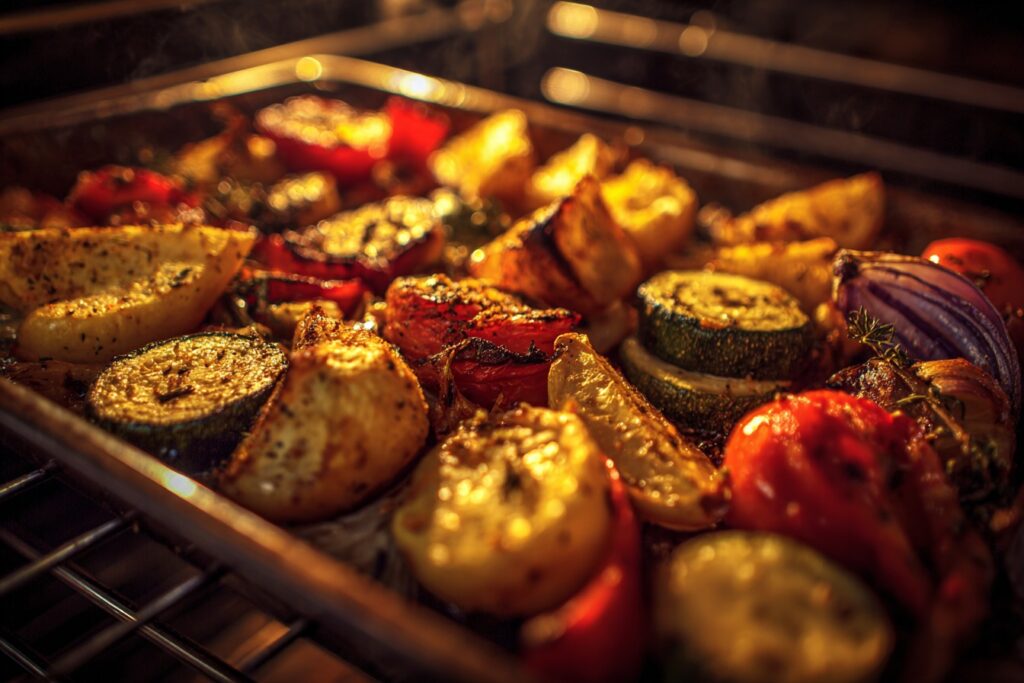
If you want vegetables that taste like the ones you get at a restaurant—crispy, caramelized, and full of flavor—you’ve got to crank up the heat. Chefs roast veggies at 400°F to 450°F, which is hotter than most home cooks dare to go. The high heat brings out natural sugars, creating those golden-brown edges that make roasted carrots, Brussels sprouts, and potatoes irresistible. The key is cutting everything to a uniform size so they cook evenly. Toss them with olive oil, salt, and pepper, then spread them out on a sheet pan. Trust me—once you taste them roasted this way, you’ll never go back to bland, steamed veggies.
Don’t overcrowd the pan
This rule applies to nearly everything—roasting vegetables, pan-searing meat, even stir-frying. When too much food is packed into a pan, it releases water and ends up steaming instead of browning. That’s why chefs always cook in batches, giving each piece of food enough space to breathe. The difference is huge: crisp, golden seared edges instead of pale, soggy bites. If you want that picture-perfect crust on your steak or those deeply caramelized roasted veggies, resist the temptation to pile it all on one pan.
Invest in a good sheet pan
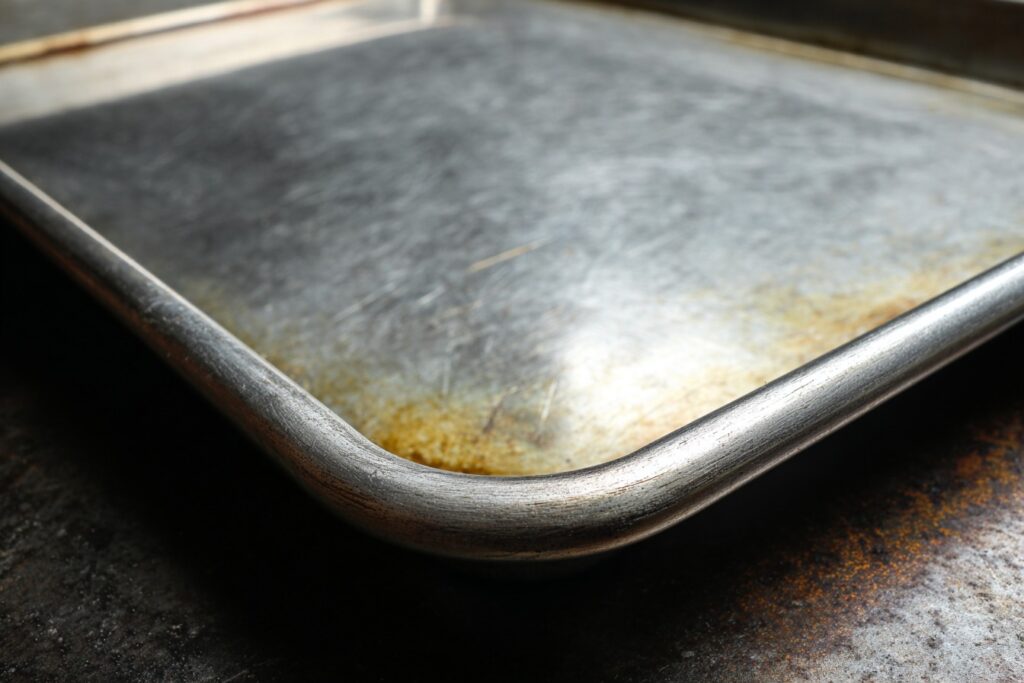
Not all sheet pans are created equal. Cheap ones tend to warp at high heat, which can lead to uneven cooking and even burned spots. Chefs rely on heavy-duty, professional-grade aluminum sheet pans. They’re sturdy, conduct heat evenly, and last for years. And they’re not just for cookies—these pans are the backbone of roasted veggies, sheet-pan dinners, and even crispy bacon. If there’s one affordable investment that will change your kitchen game, it’s a quality sheet pan.
Don’t spend big on vegetable peelers
Here’s a kitchen truth: not every tool needs to be expensive. Chefs will splurge on knives or blenders, but when it comes to peelers, they keep it simple. Peelers dull quickly and can’t really be sharpened, so even the priciest ones end up useless after a while. Instead, pros buy cheap peelers that do the job well, then replace them when needed. You’ll save money and never feel bad about tossing out a dull tool.
Use fresh or old eggs depending on the recipe
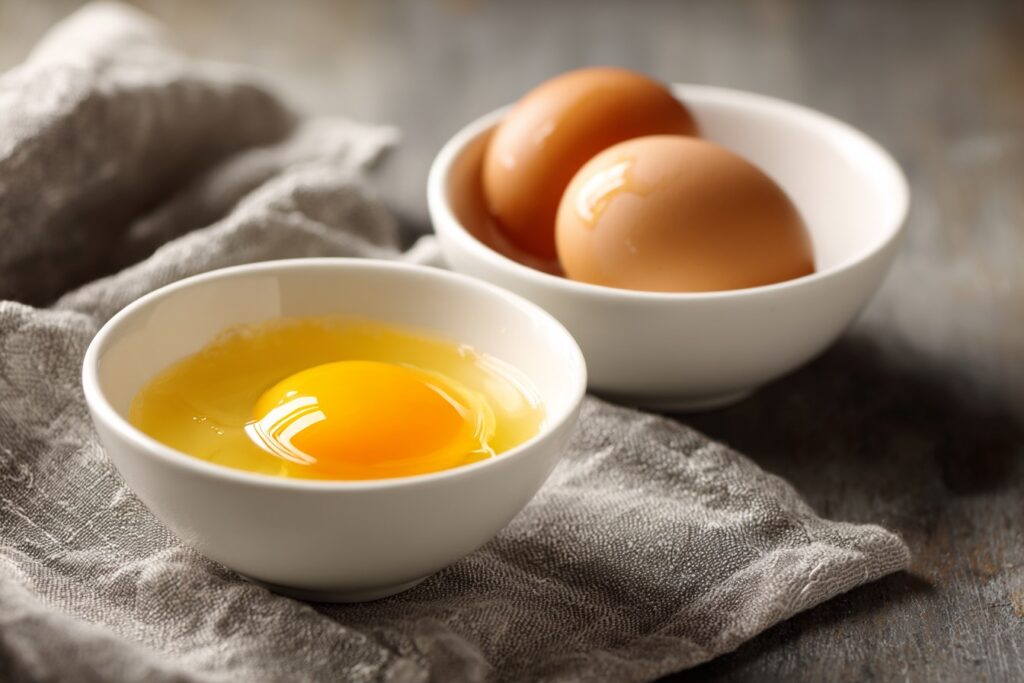
The age of your eggs actually matters. Fresh eggs have tight whites that cling to the yolk, making them perfect for poaching since they hold their shape in water. But older eggs are better for hard-boiling. As they age, the whites loosen slightly, which makes them easier to peel once cooked. So if you’re making eggs Benedict, reach for the freshest carton. But if deviled eggs are on the menu, a week-old dozen will make your life so much easier.
Choose the right potato for the job
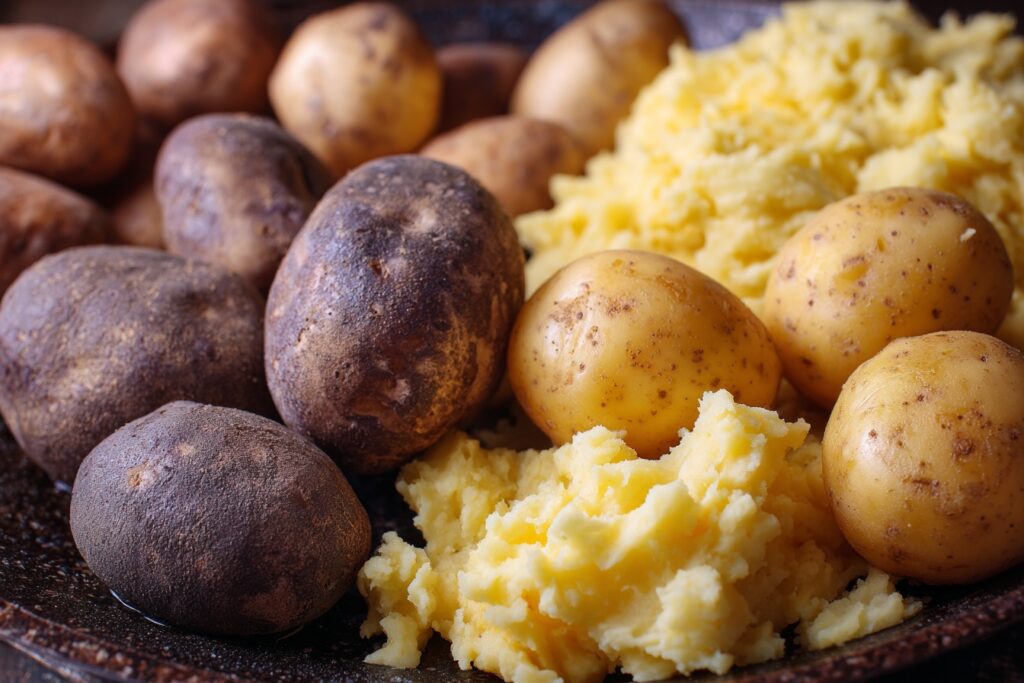
Potatoes may all look the same at the store, but chefs know they’re not interchangeable. Russet potatoes are high in starch, which makes them fluffy and perfect for baked potatoes, fries, and mashed potatoes. Waxy varieties, like red or fingerling potatoes, hold their shape when cooked, making them ideal for soups, stews, and potato salad. Using the wrong potato can make the difference between creamy mashed potatoes and a gluey, gummy mess.
Blanch vegetables for vibrant color
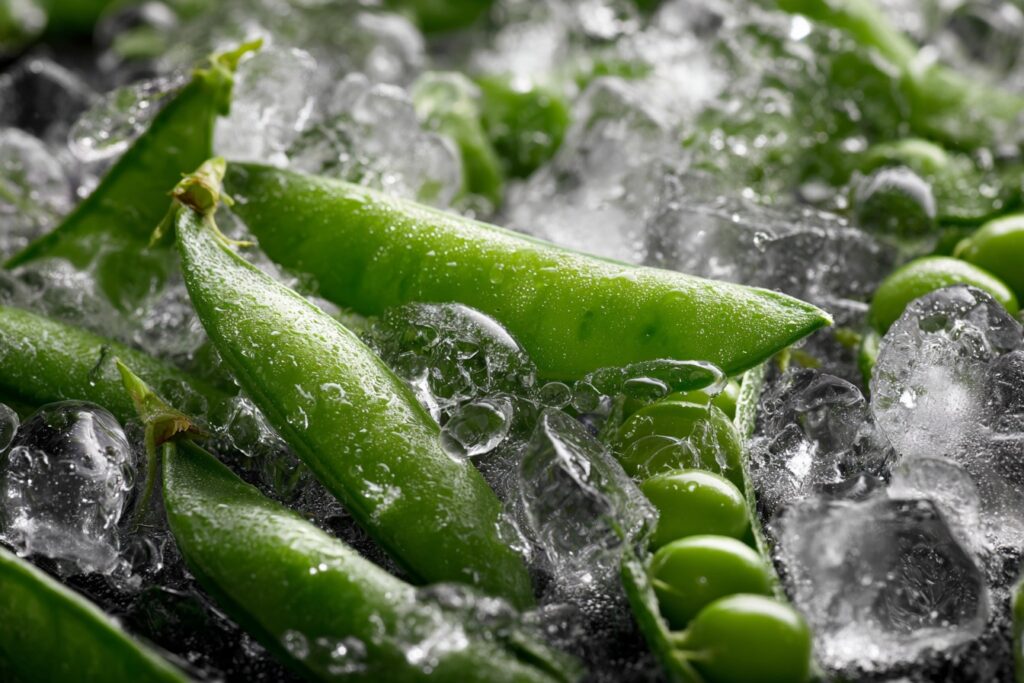
Ever wonder why restaurant salads and veggie platters look so bright and fresh? Chances are, those vegetables were blanched. The technique is simple: boil them for a short time, then plunge them into ice water to stop the cooking. This not only locks in flavor but also intensifies their color. Green beans look greener, carrots more orange, and broccoli a vivid emerald. The veggies stay tender-crisp and beautiful—perfect for serving fresh or tossing into a stir-fry.
Make roux in advance
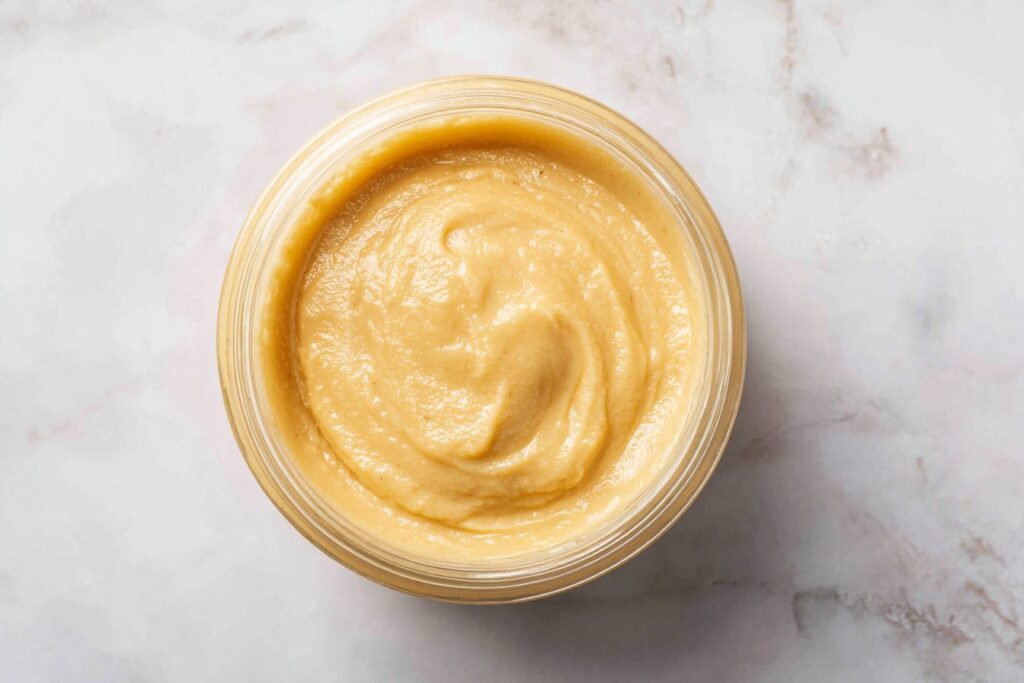
A roux—the classic mix of flour and fat cooked together—is the base of countless sauces, gravies, and soups. Making it from scratch every time can slow you down, so chefs often prepare big batches ahead of time. Stored in the fridge or freezer, pre-made roux is a lifesaver for quick weeknight cooking. When you need to thicken a sauce, just scoop some in and whisk. Instant depth, body, and creaminess—without the stress of cooking flour on the spot.
Experiment with unexpected flavors in baked goods

Chefs love surprising people with unique twists in desserts. A pinch of cardamom in cookies, a hint of rosemary in shortbread, or a touch of lavender in cake can transform something ordinary into something extraordinary. These subtle flavors don’t overpower the sweetness—they elevate it. The next time you bake, try adding a little zest, spice, or herb. You might just discover your new signature cookie.
You may also read : Sweet Alabama Pecan Bread
Make fancy ice cubes

Want to impress guests without even trying? Chefs freeze herbs, fruit, or juice into ice cubes for drinks. Not only do they look stunning, but they also add flavor as they melt. Think lemonade with frozen mint cubes, or cocktails chilled with berry-studded ice. It’s a small touch, but it turns a simple glass of water—or a party cocktail—into something memorable. Sometimes, it’s the little details that make you feel like you’re sipping at a high-end restaurant.
Conclusion
Cooking like a chef isn’t just about mastering knife skills or buying expensive ingredients—it’s about knowing the little tricks that make food taste better and the process more enjoyable. From seasoning your meat properly to choosing the right potato, these secrets give you the confidence to cook smarter, not harder. Whether you’re making weeknight dinners or hosting a big gathering, a few professional tips can elevate your food from good to unforgettable.
FAQs
1. Do I really need special tools to cook like a chef?
Not always. Chefs invest in essentials like knives and pans but keep things simple with tools like peelers or tongs.
2. What’s the number one mistake home cooks make?
Overcrowding pans. It prevents food from browning properly and can ruin texture.
3. How can I make my food taste more like restaurant meals?
Layer seasoning as you cook, use fresh herbs, and finish sauces with butter or vinegar for brightness.
4. Why is resting meat so important?
It allows juices to redistribute, keeping the meat juicy instead of dry.
5. What’s one easy upgrade I can try tonight?
Save pasta water for your sauce—it’s a simple chef’s trick that transforms the dish.

